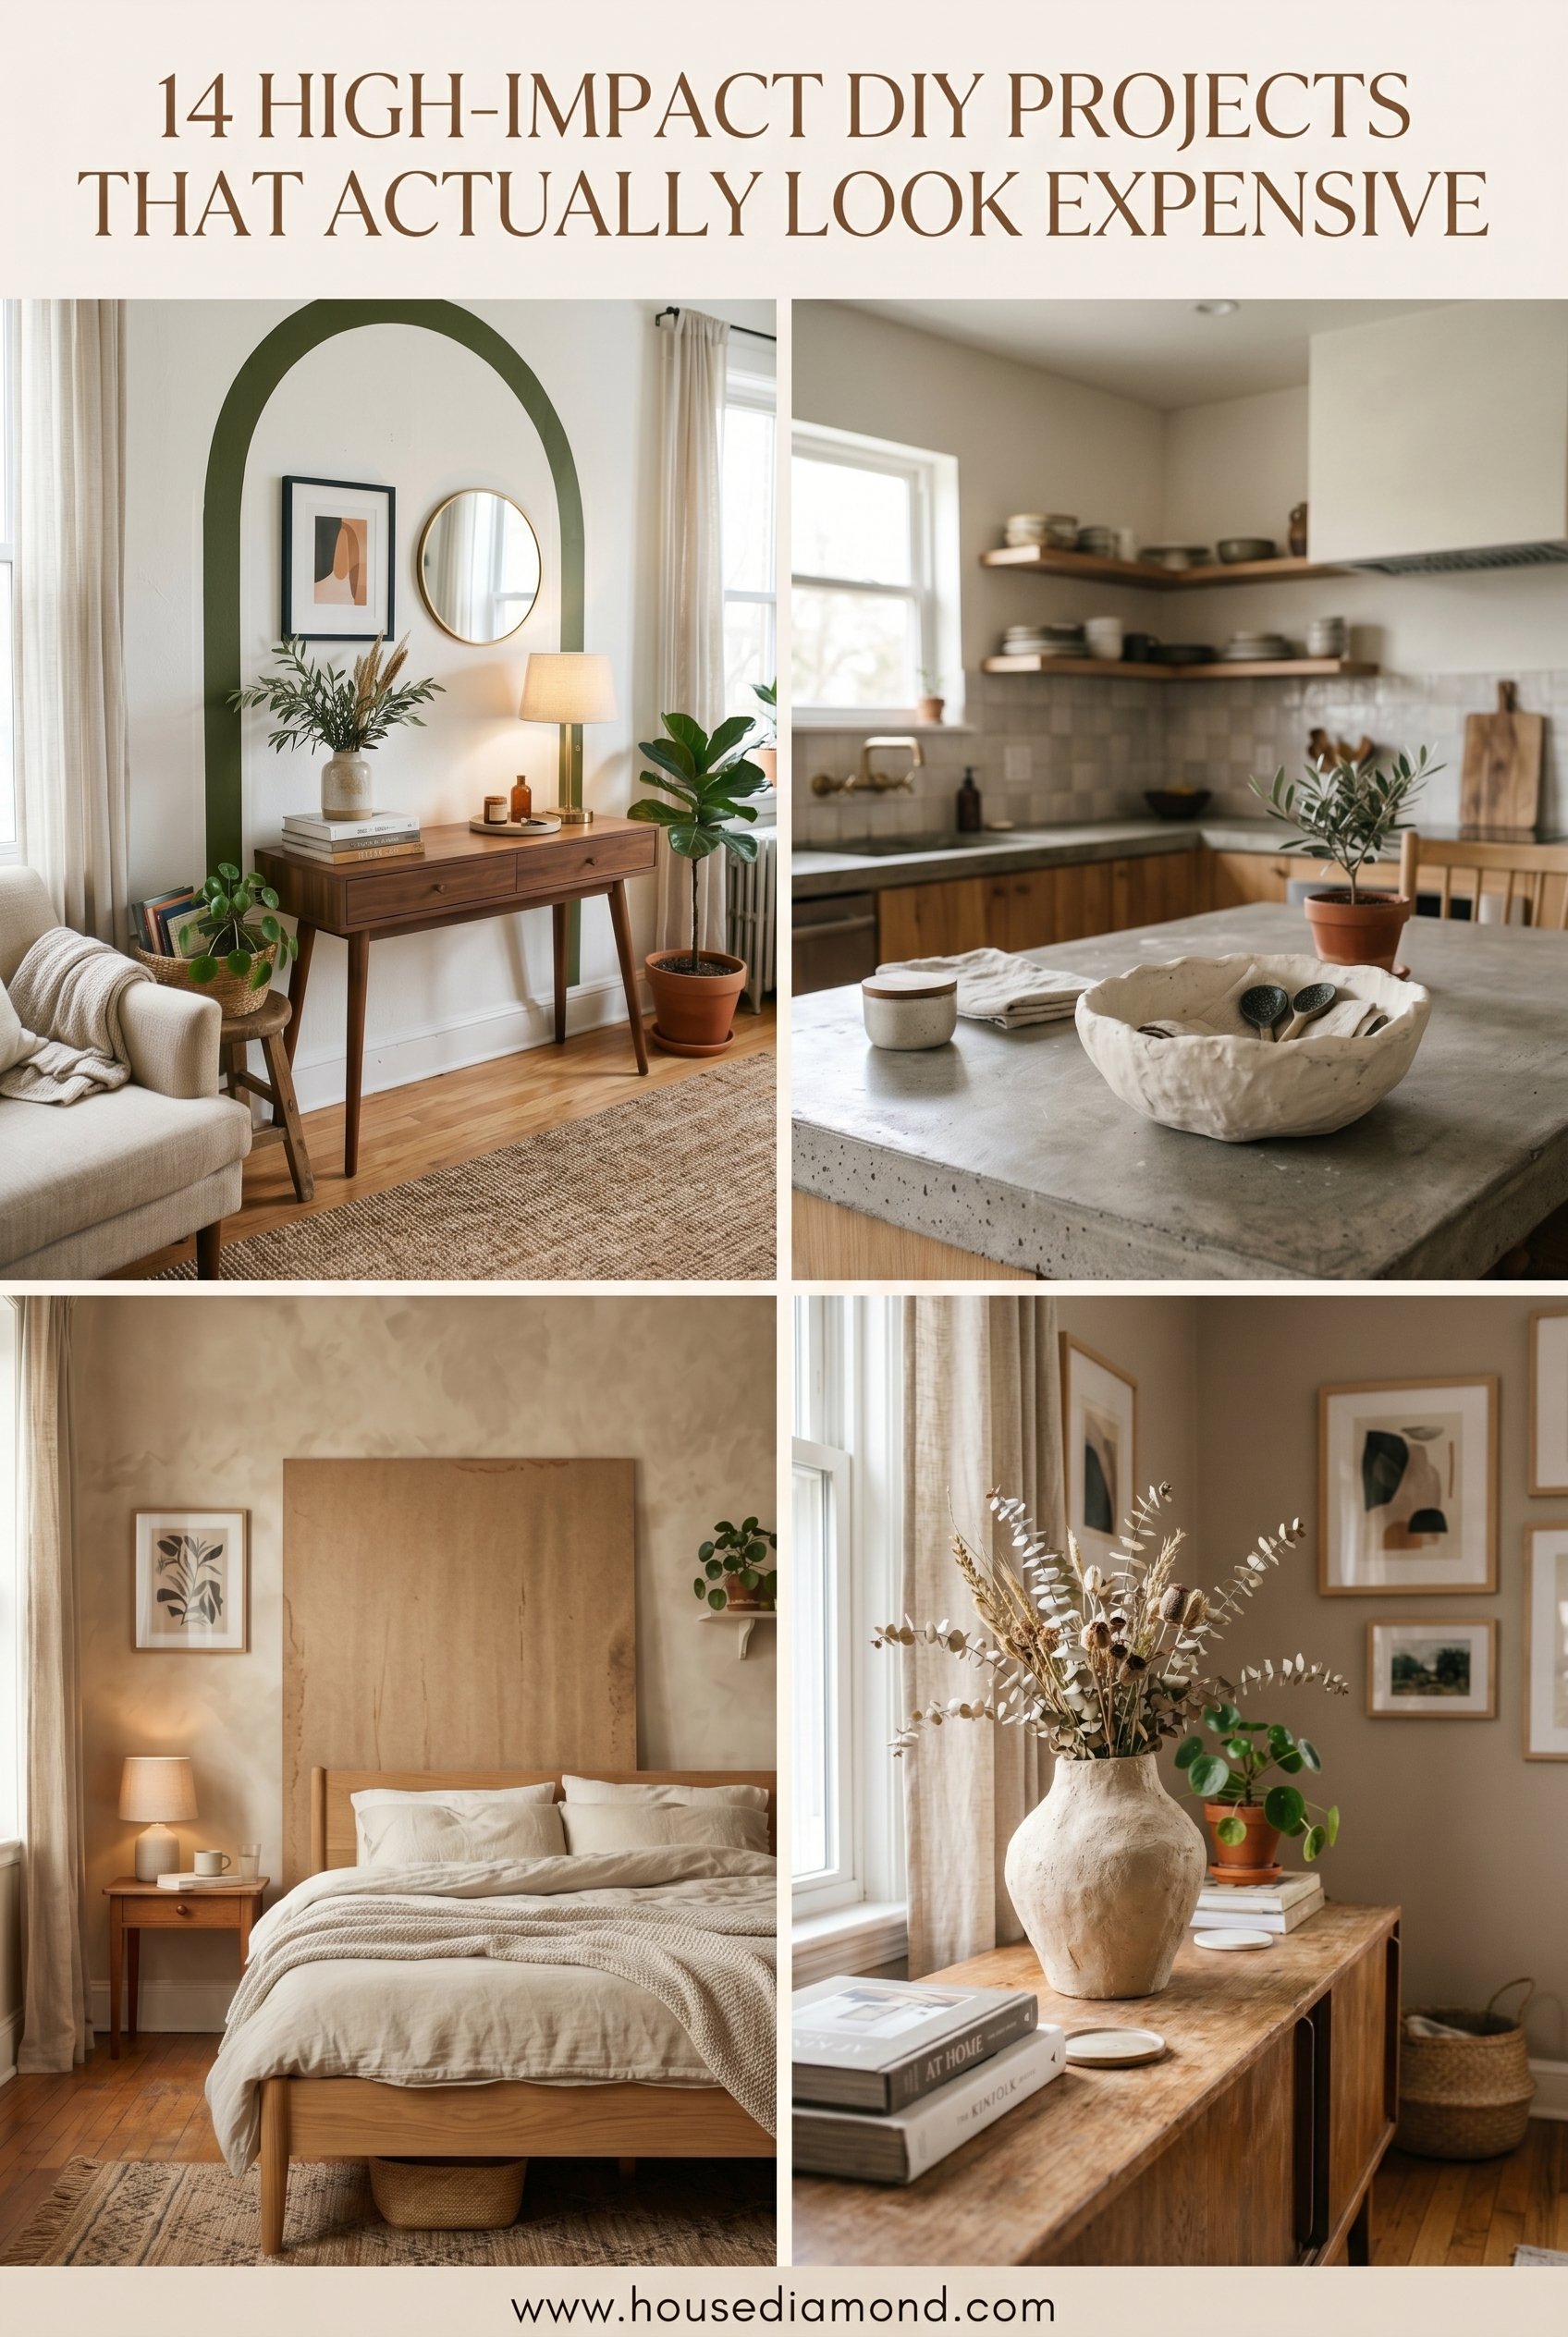
14 High-impact Diy Decor Projects That Actually Look Expensive
Gorgeous Diy Crafts For Home Decor ideas to save for later!
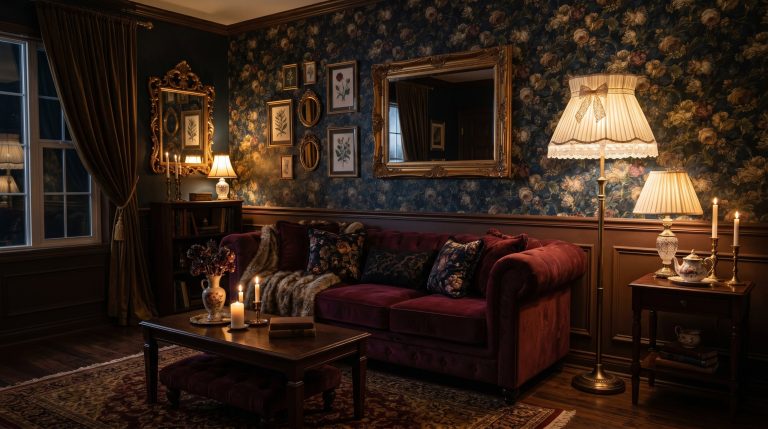
Most DIY decor looks exactly like what it is: a weekend project made with hot glue and optimism. I'm entirely over temporary fixes that end up in the donation bin three months later. We are focusing on architectural hacks and textured pieces that rival West Elm, using actual power tools and sustainable materials. I tracked the exact budgets and time commitments, so you know what you're really signing up for.
1. The Baking Soda Paint Trick on Thrifted Glass
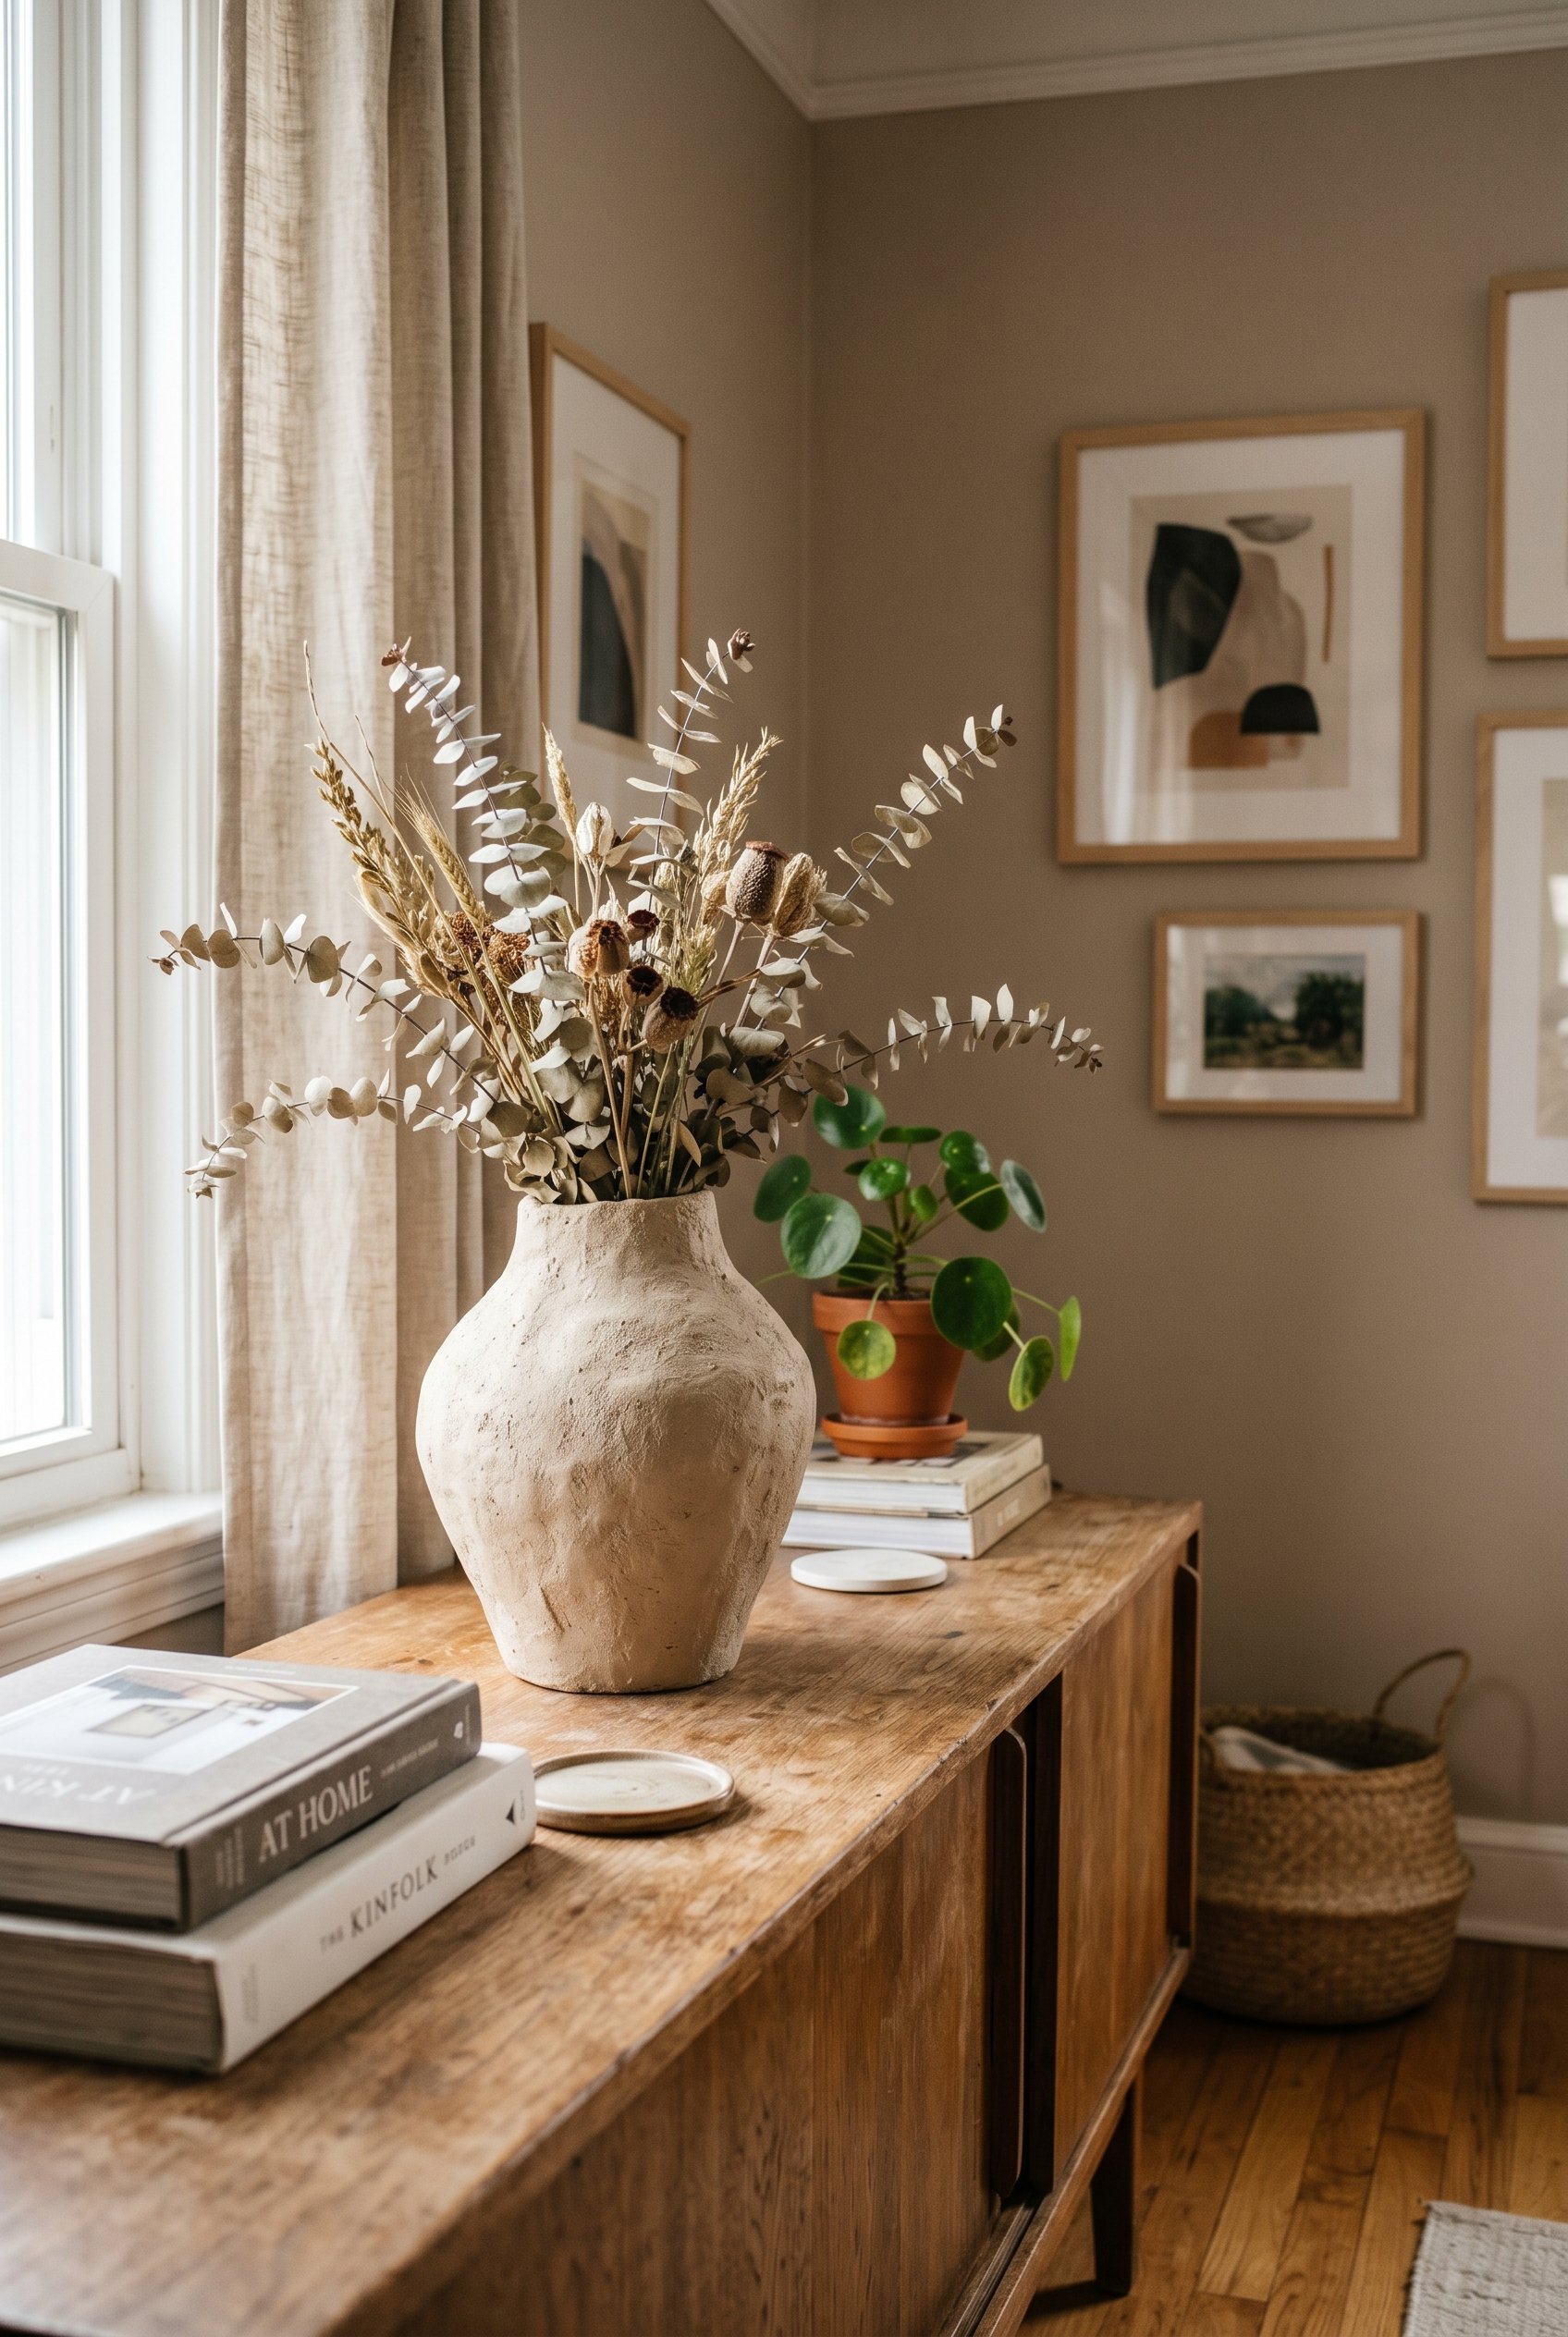
Budget: $15 | Time: 1 hour This is the oldest trick in the Pinterest playbook, but it works flawlessly. Take those shiny, dated 90s vases from Goodwill and mix standard zero-VOC acrylic paint with baking soda. The reaction creates a thick, matte, plaster-like texture. I love this for faking high-end ceramic silhouettes without the ceramicist price tag. You need about one tablespoon of baking soda per cup of paint. Stir it until it feels like frosting, then brush it on with a cheap foam brush.
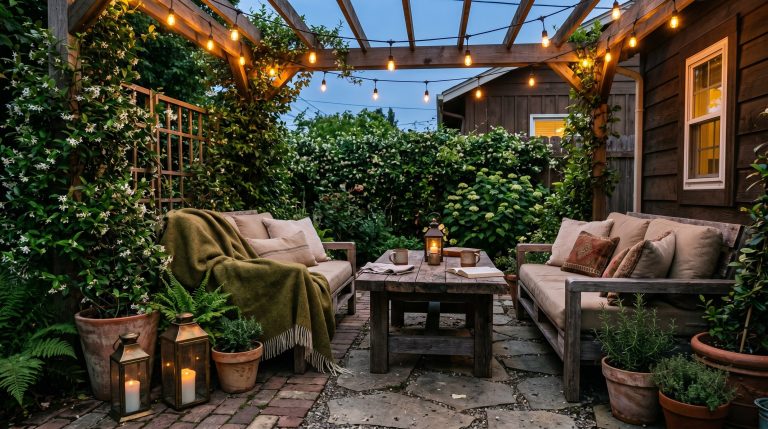
2. Suspended Foraged Branch Installation
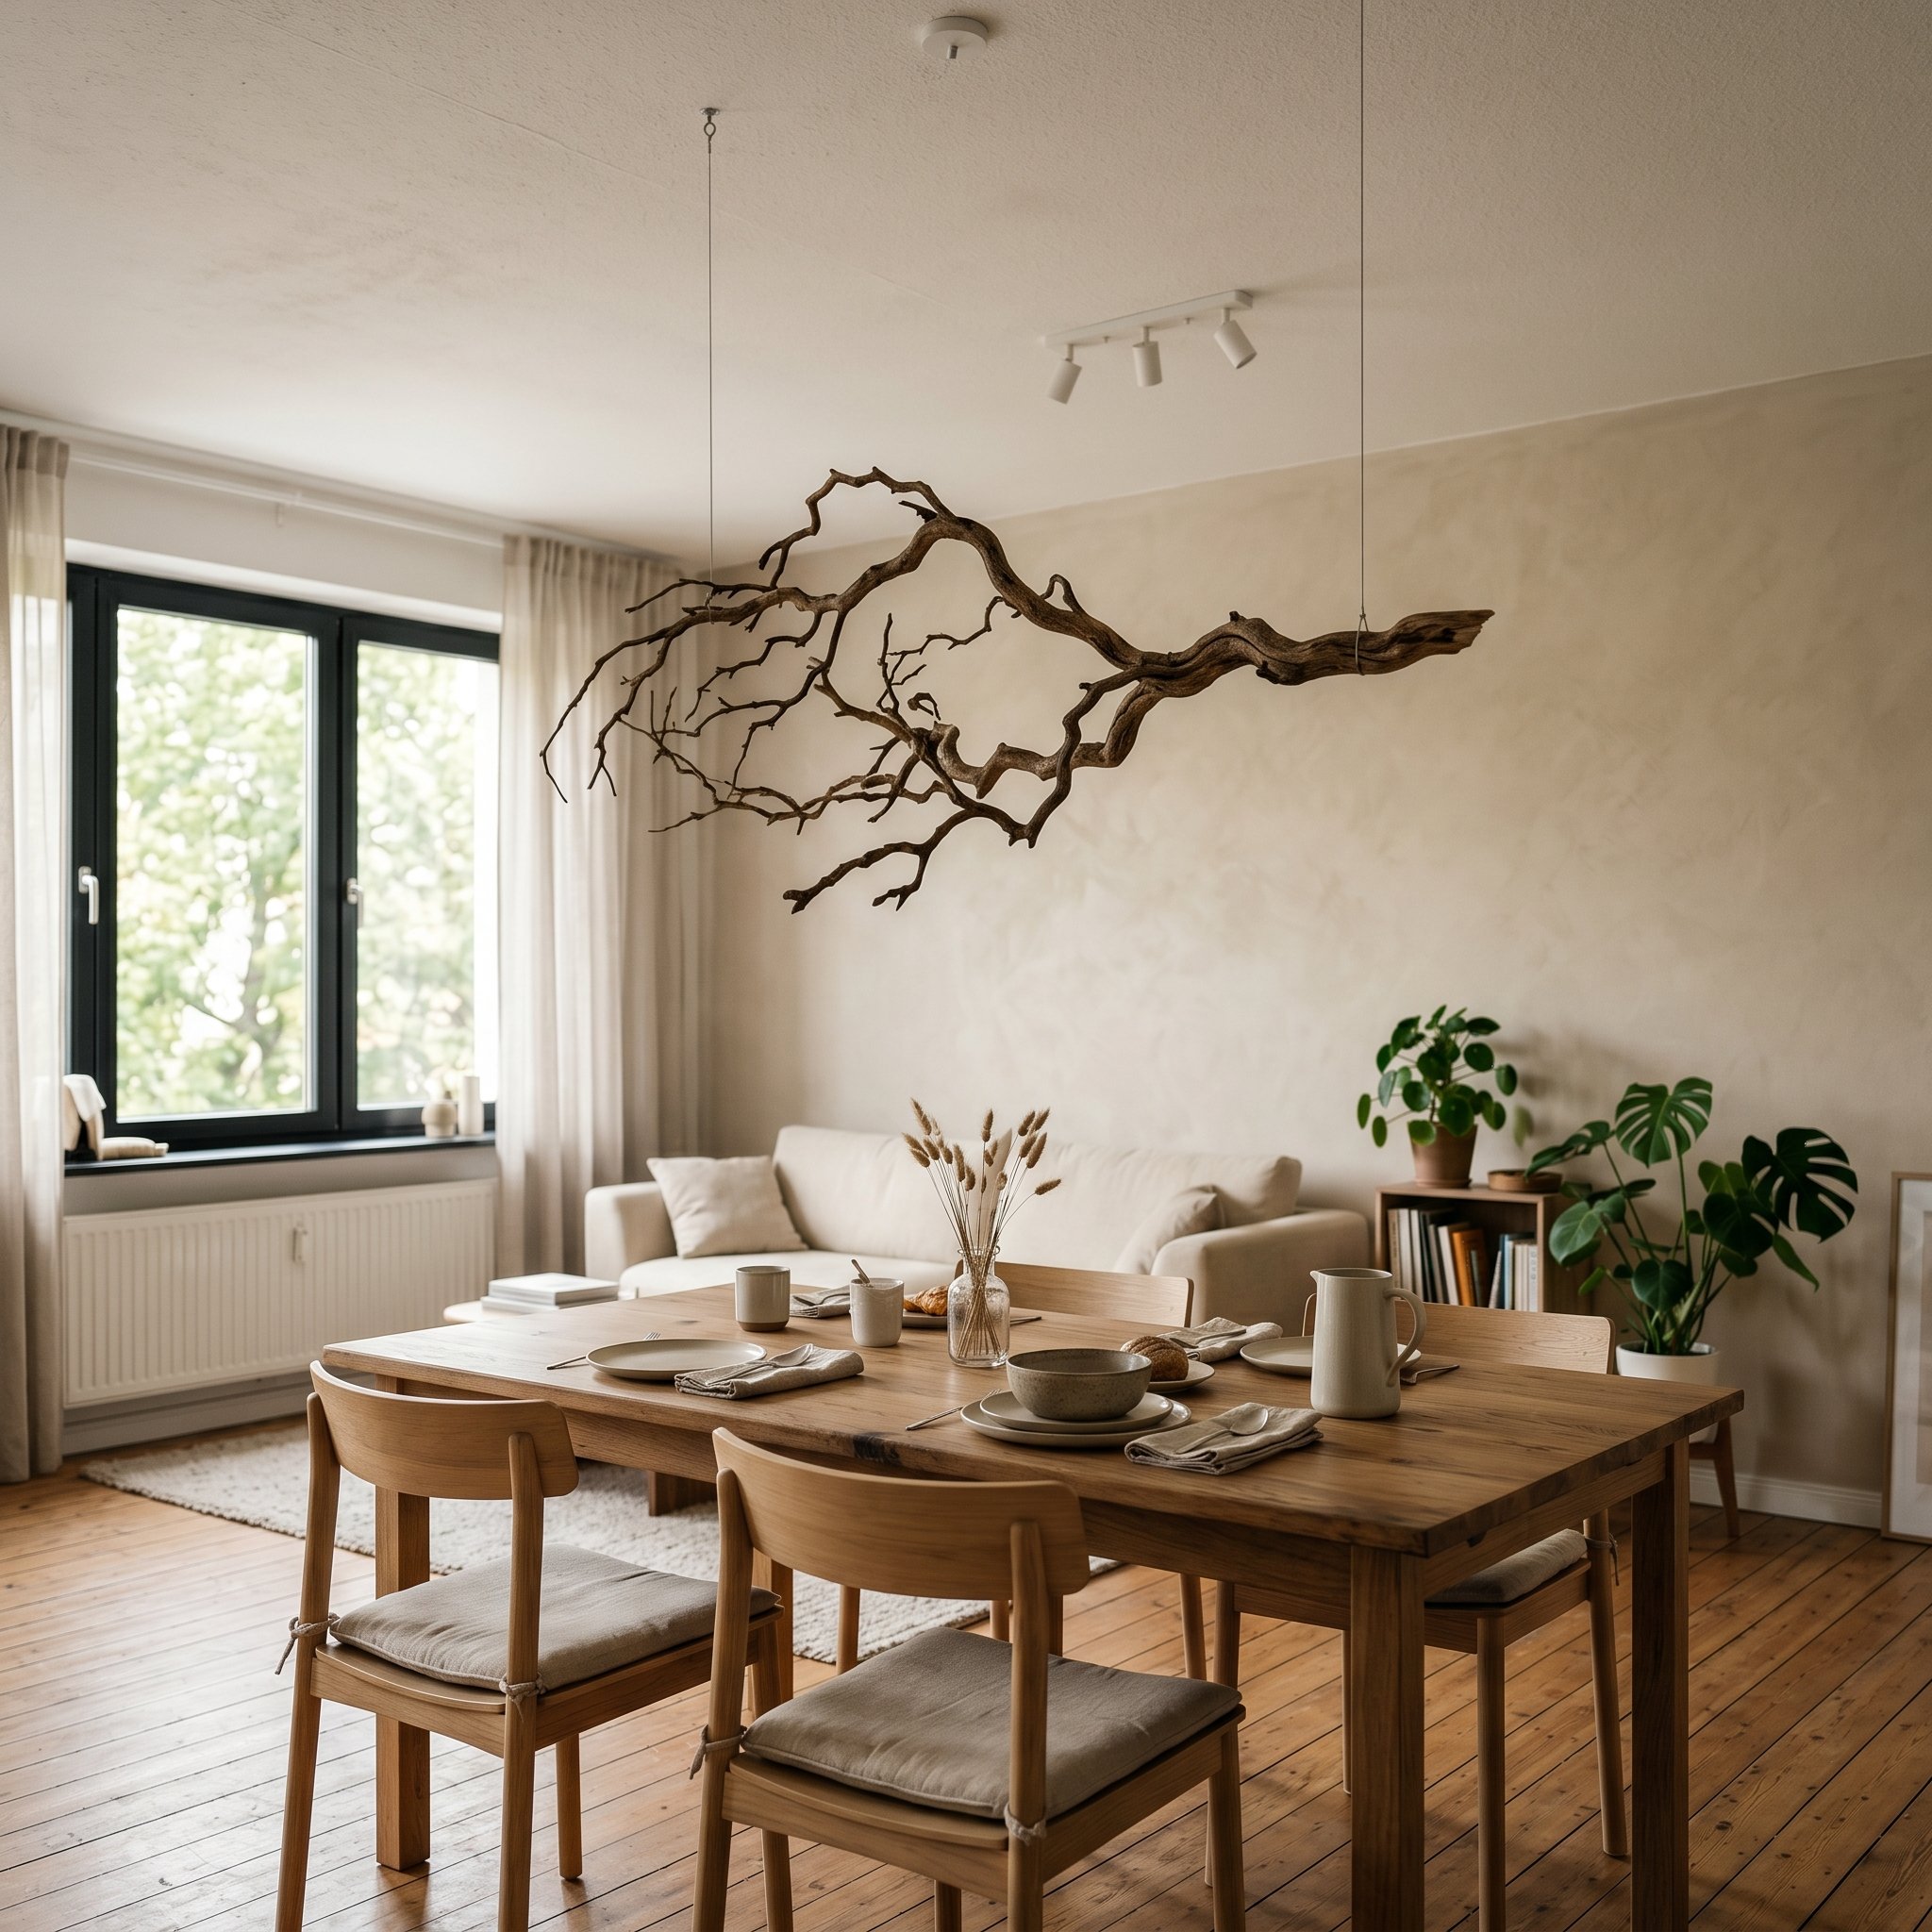
Budget: $5 | Time: 2 hours Skip the fake plastic vines. Go outside, find a wildly asymmetrical, dry branch, and hang it above your dining table using clear heavy-duty fishing line and two small ceiling hooks. This is incredibly renter-friendly and completely damage-free if you use Command ceiling hooks. I wrap dried florals and non-toxic preserved moss around the base for a sculptural, organic chandelier effect.
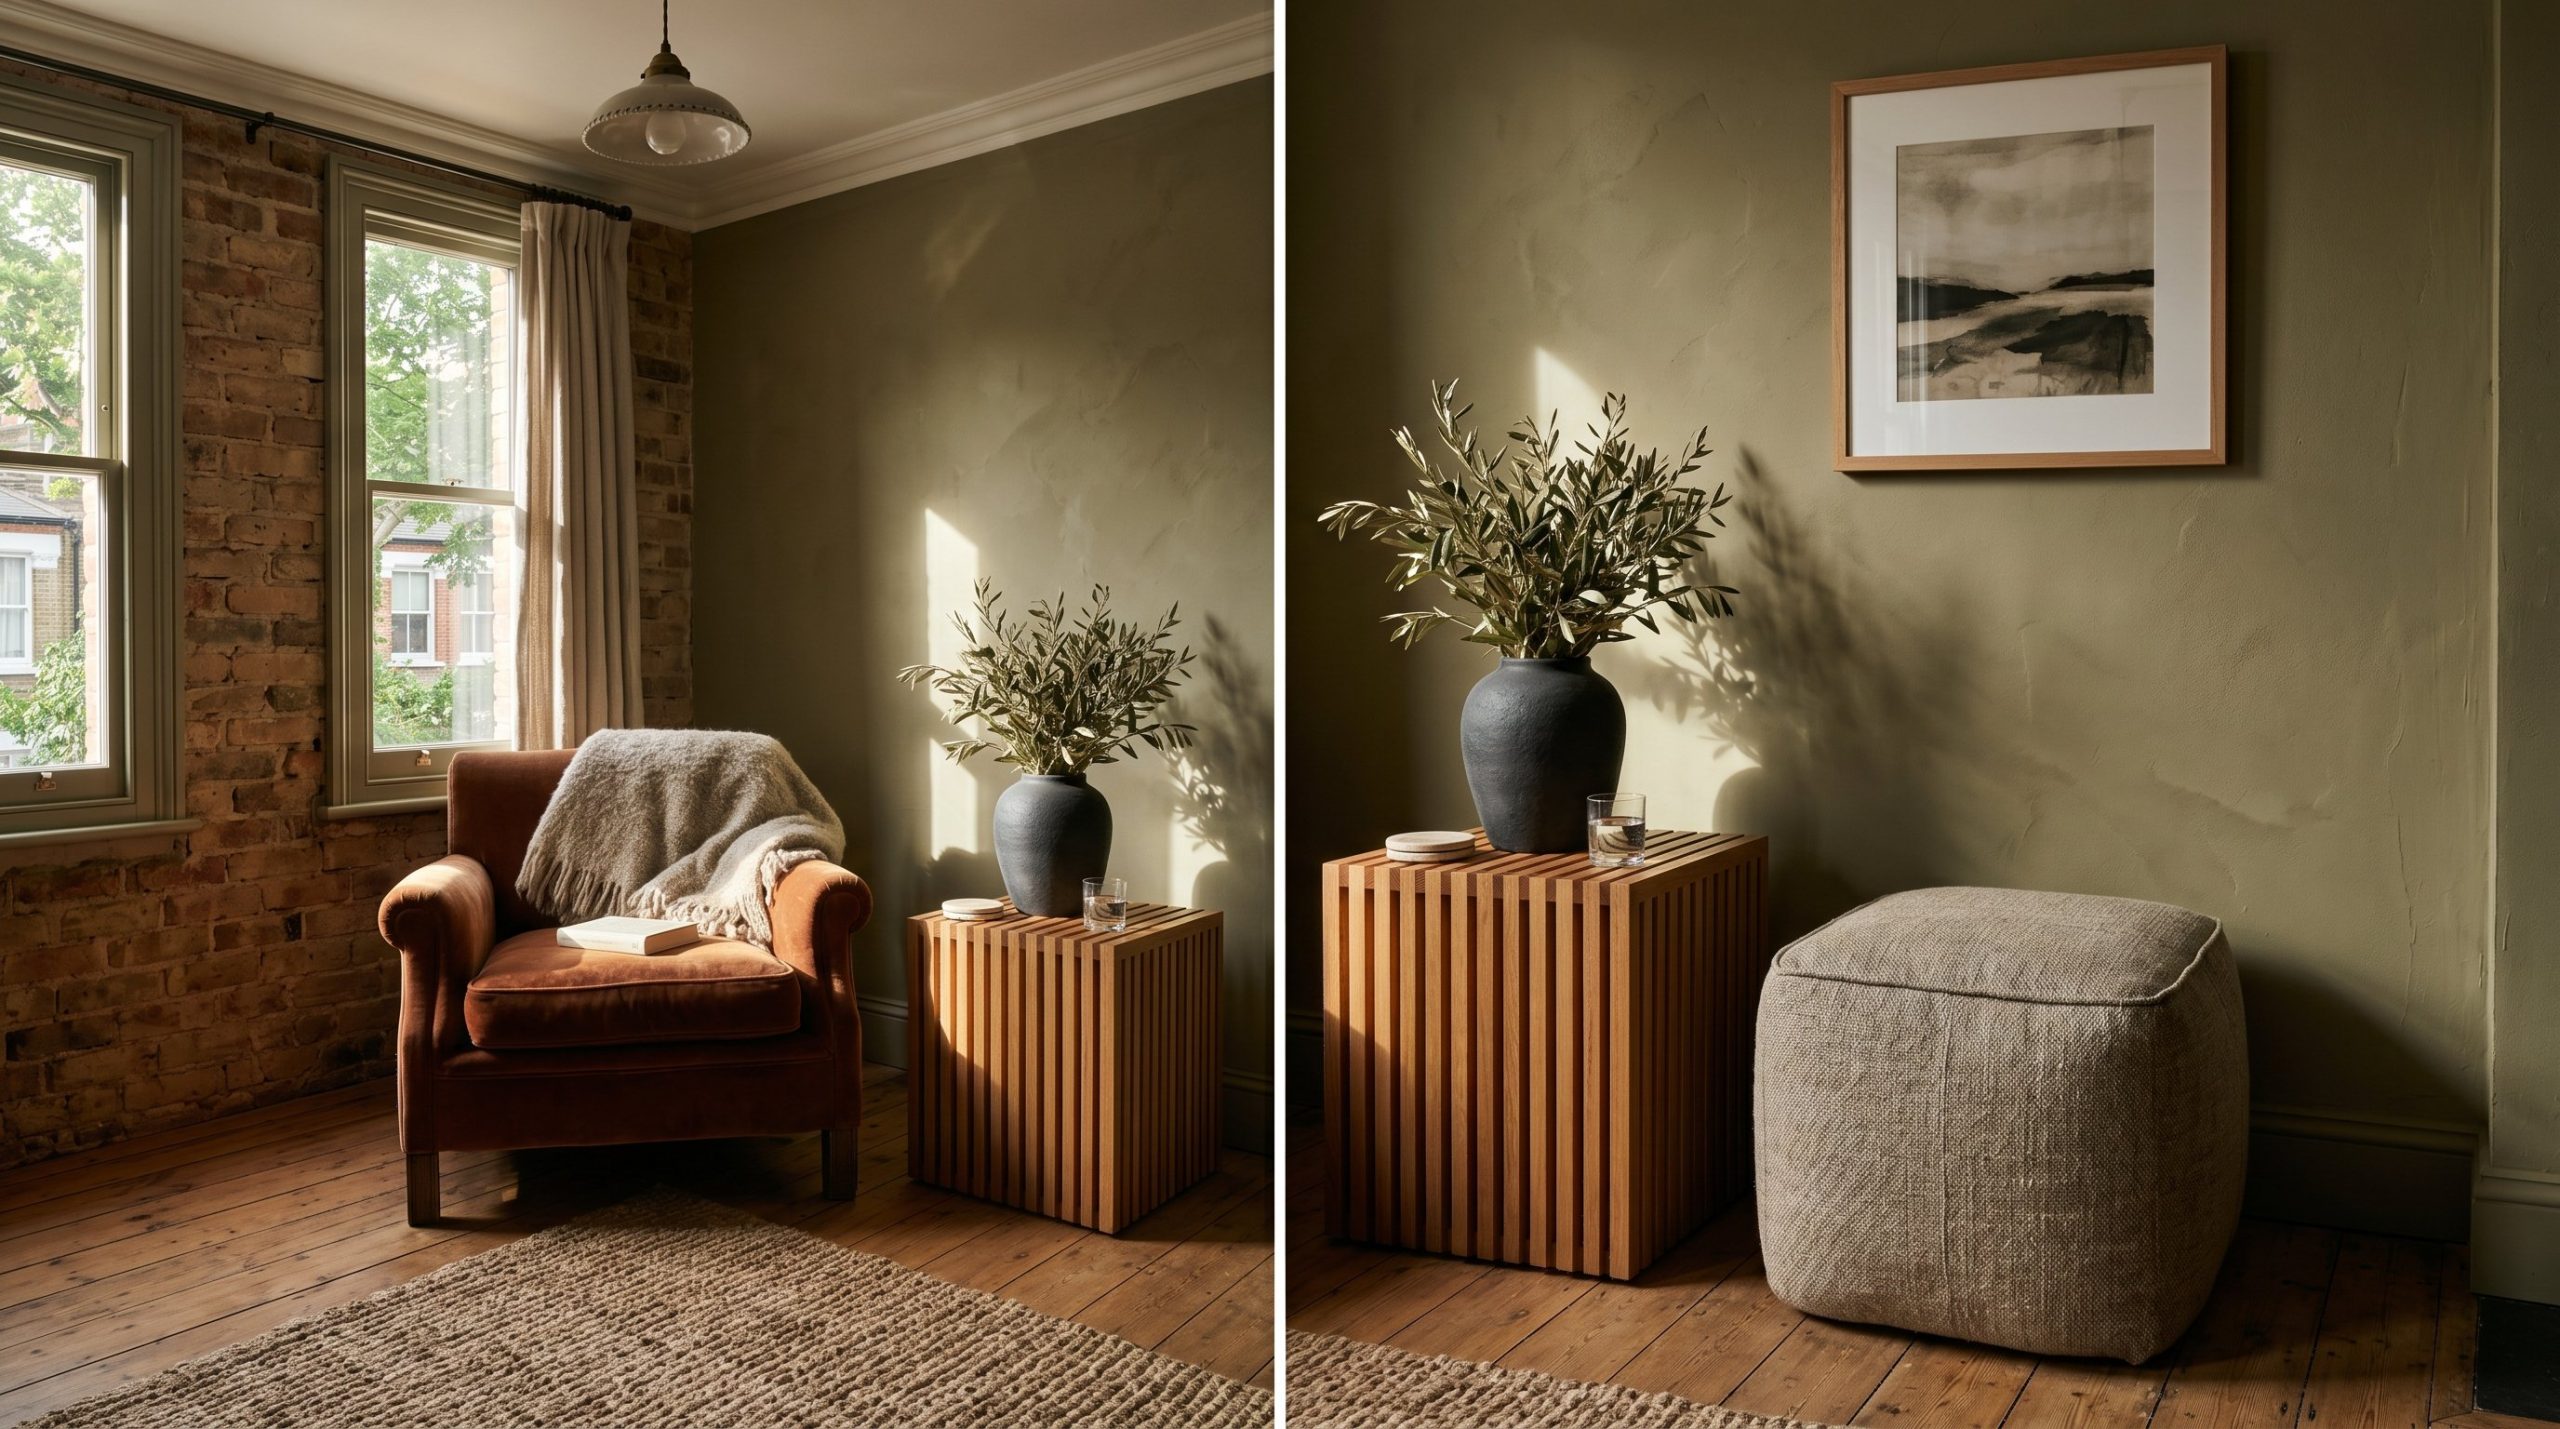
3. Pole Wrap IKEA Dresser Hack

Budget: $75 | Time: 4 hours We are taking a basic IKEA Tarva and giving it a slatted, fluted front using pine pole wrap from the hardware store. Power Tool Primer: You need a circular saw or miter saw for this. If you're a beginner, clamp your pole wrap down tightly to a sturdy table before cutting. Always wear safety glasses, keep your hands at least six inches from the blade, and let the saw reach full speed before making contact with the wood. Glue the cut panels to the drawer fronts with strong wood glue and clamp them overnight.
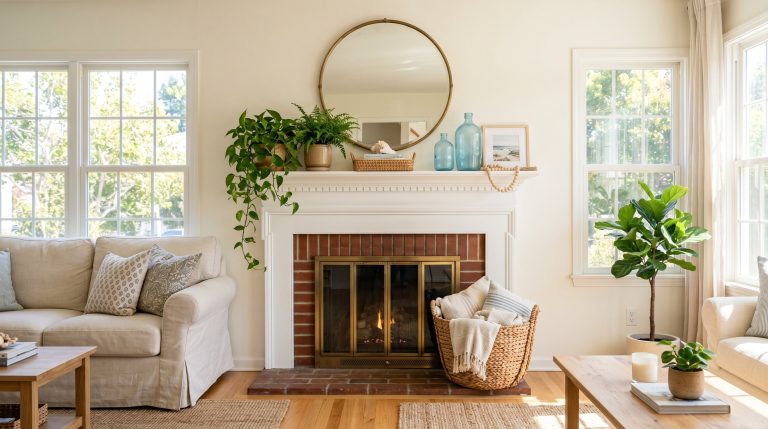
4. Faux Plaster Canvas Art
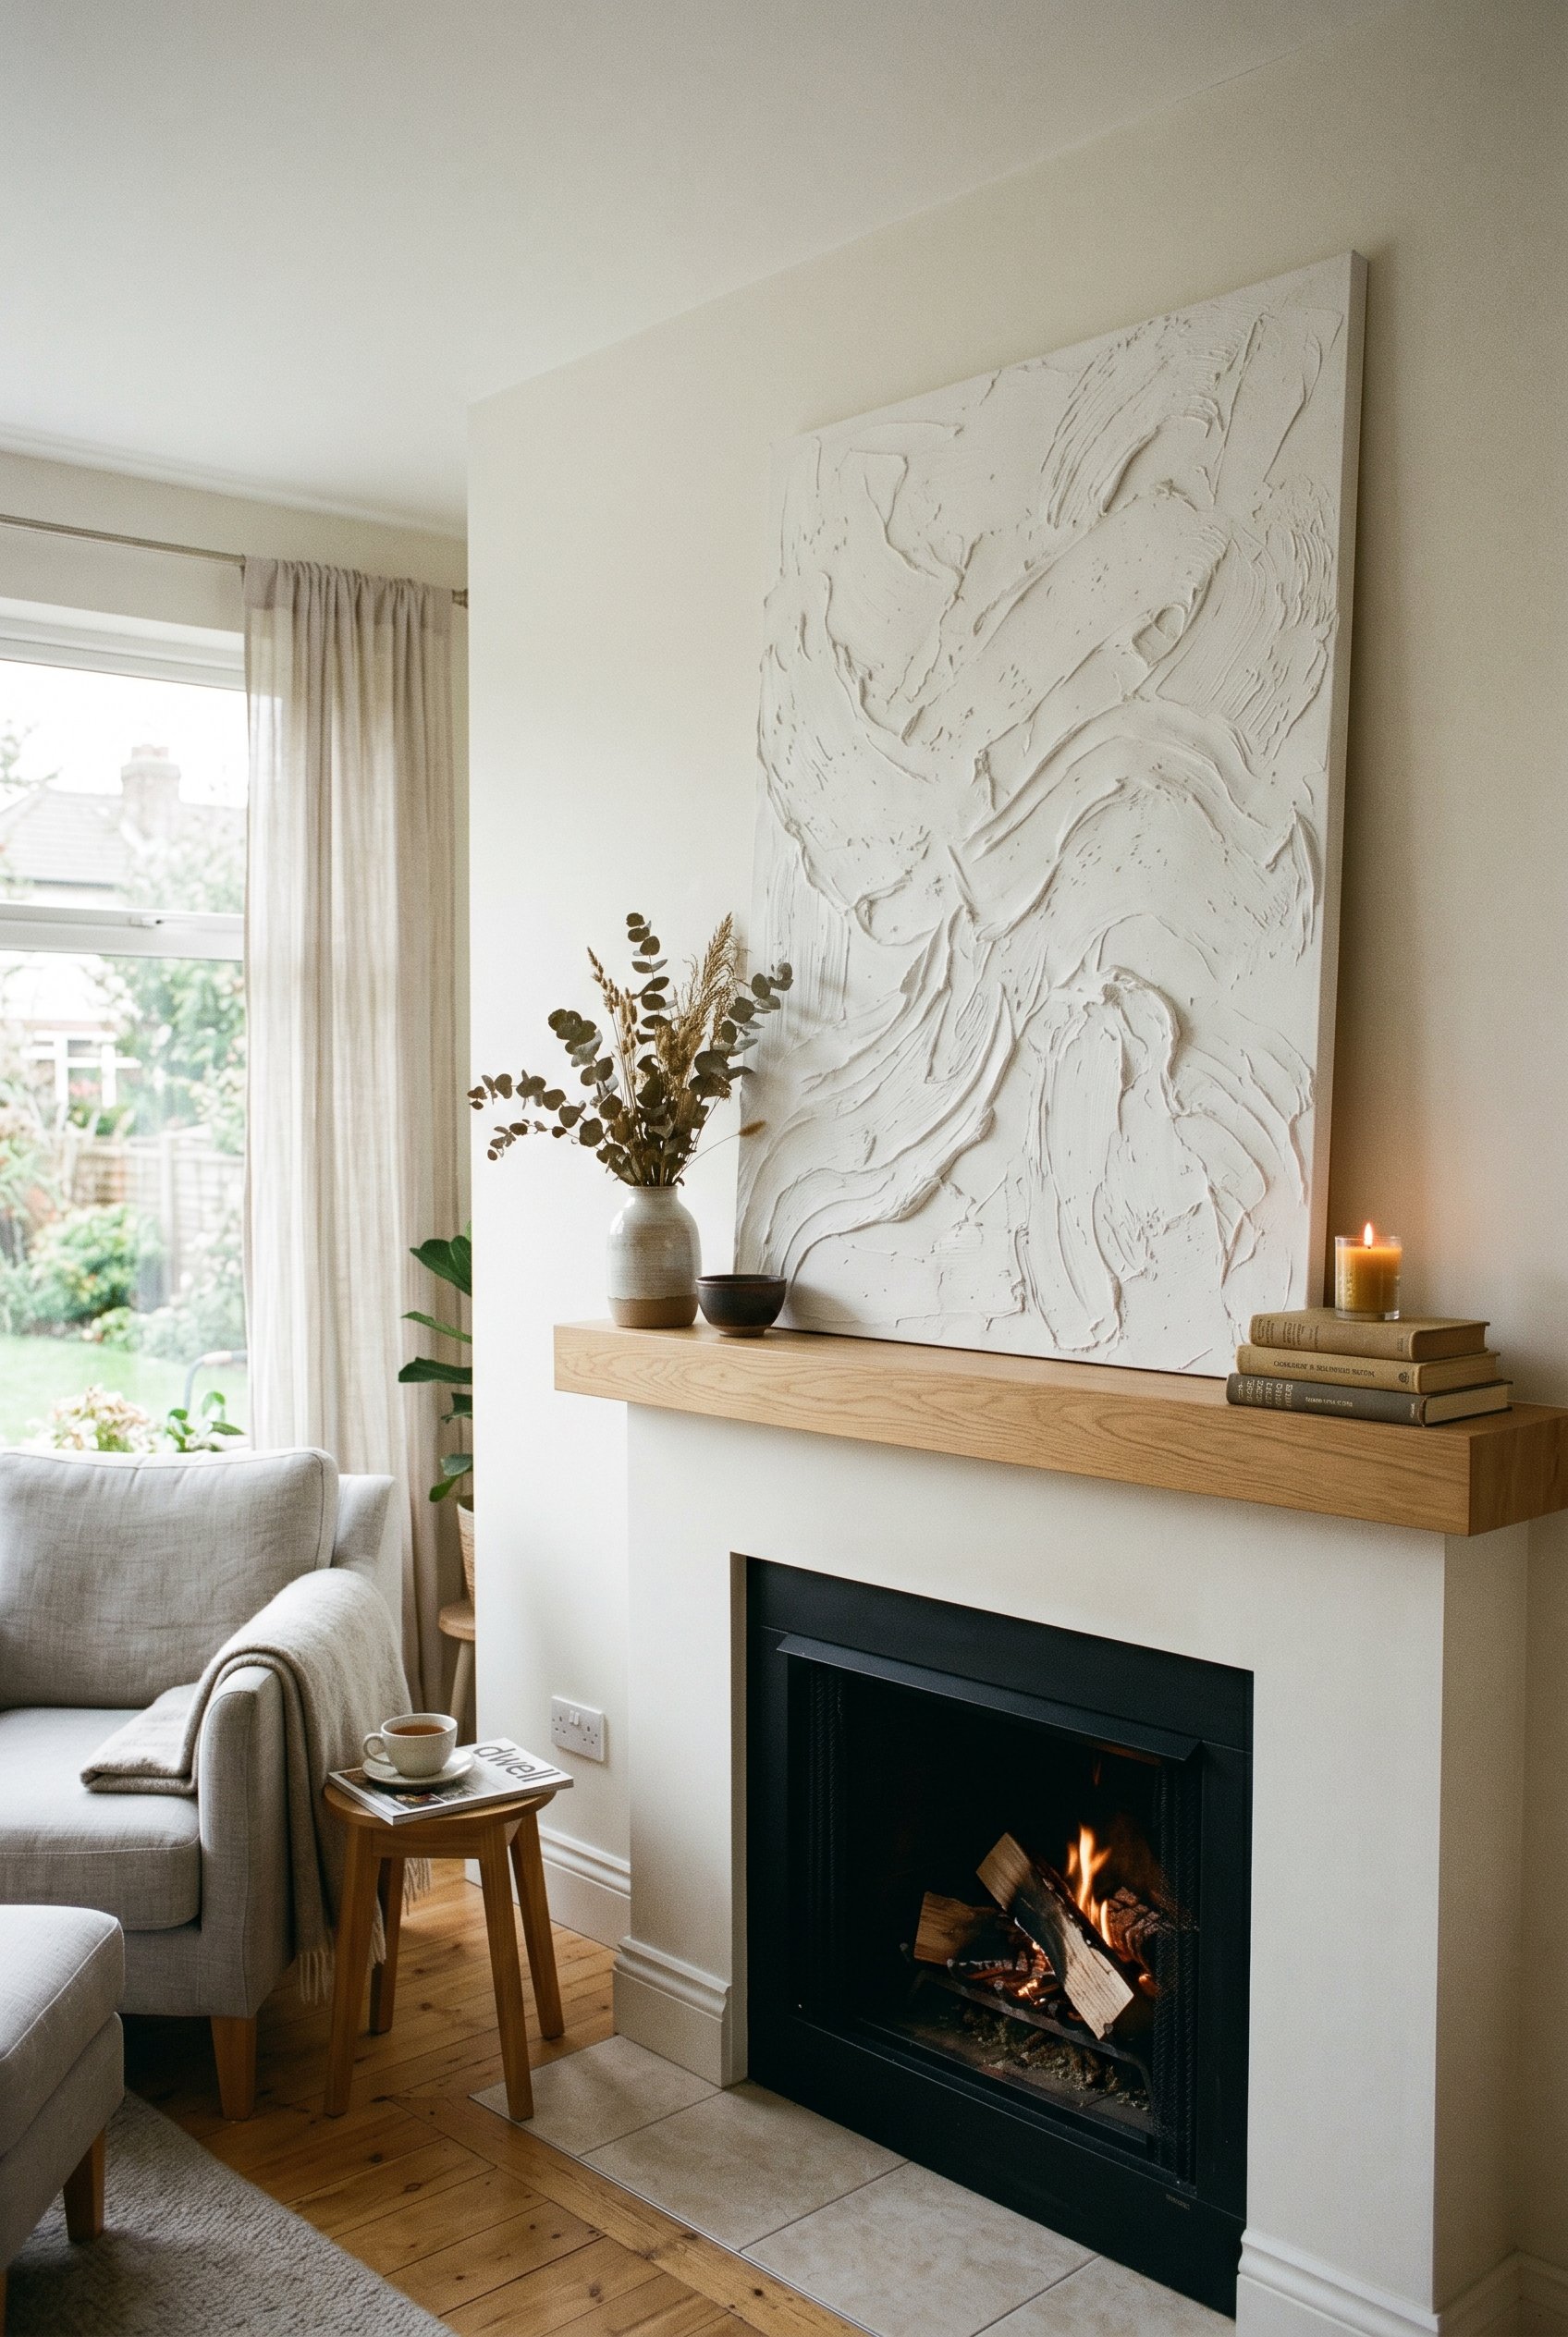
Budget: $25 | Time: 2 hours (plus drying) Joint compound is the unsung hero of DIY crafts for home decor. Buy a large, cheap canvas from a craft store and a bucket of non-toxic, dust-control joint compound. Use a plastic putty knife to scrape, swoop, and aggressively smear the compound across the canvas. There are no rules here. It dries into a heavy, rigid piece of modern art. It looks incredibly expensive leaning on a mantel, and it completely bypasses the need to paint your rental walls.
5. Washi Tape Architectural Arches
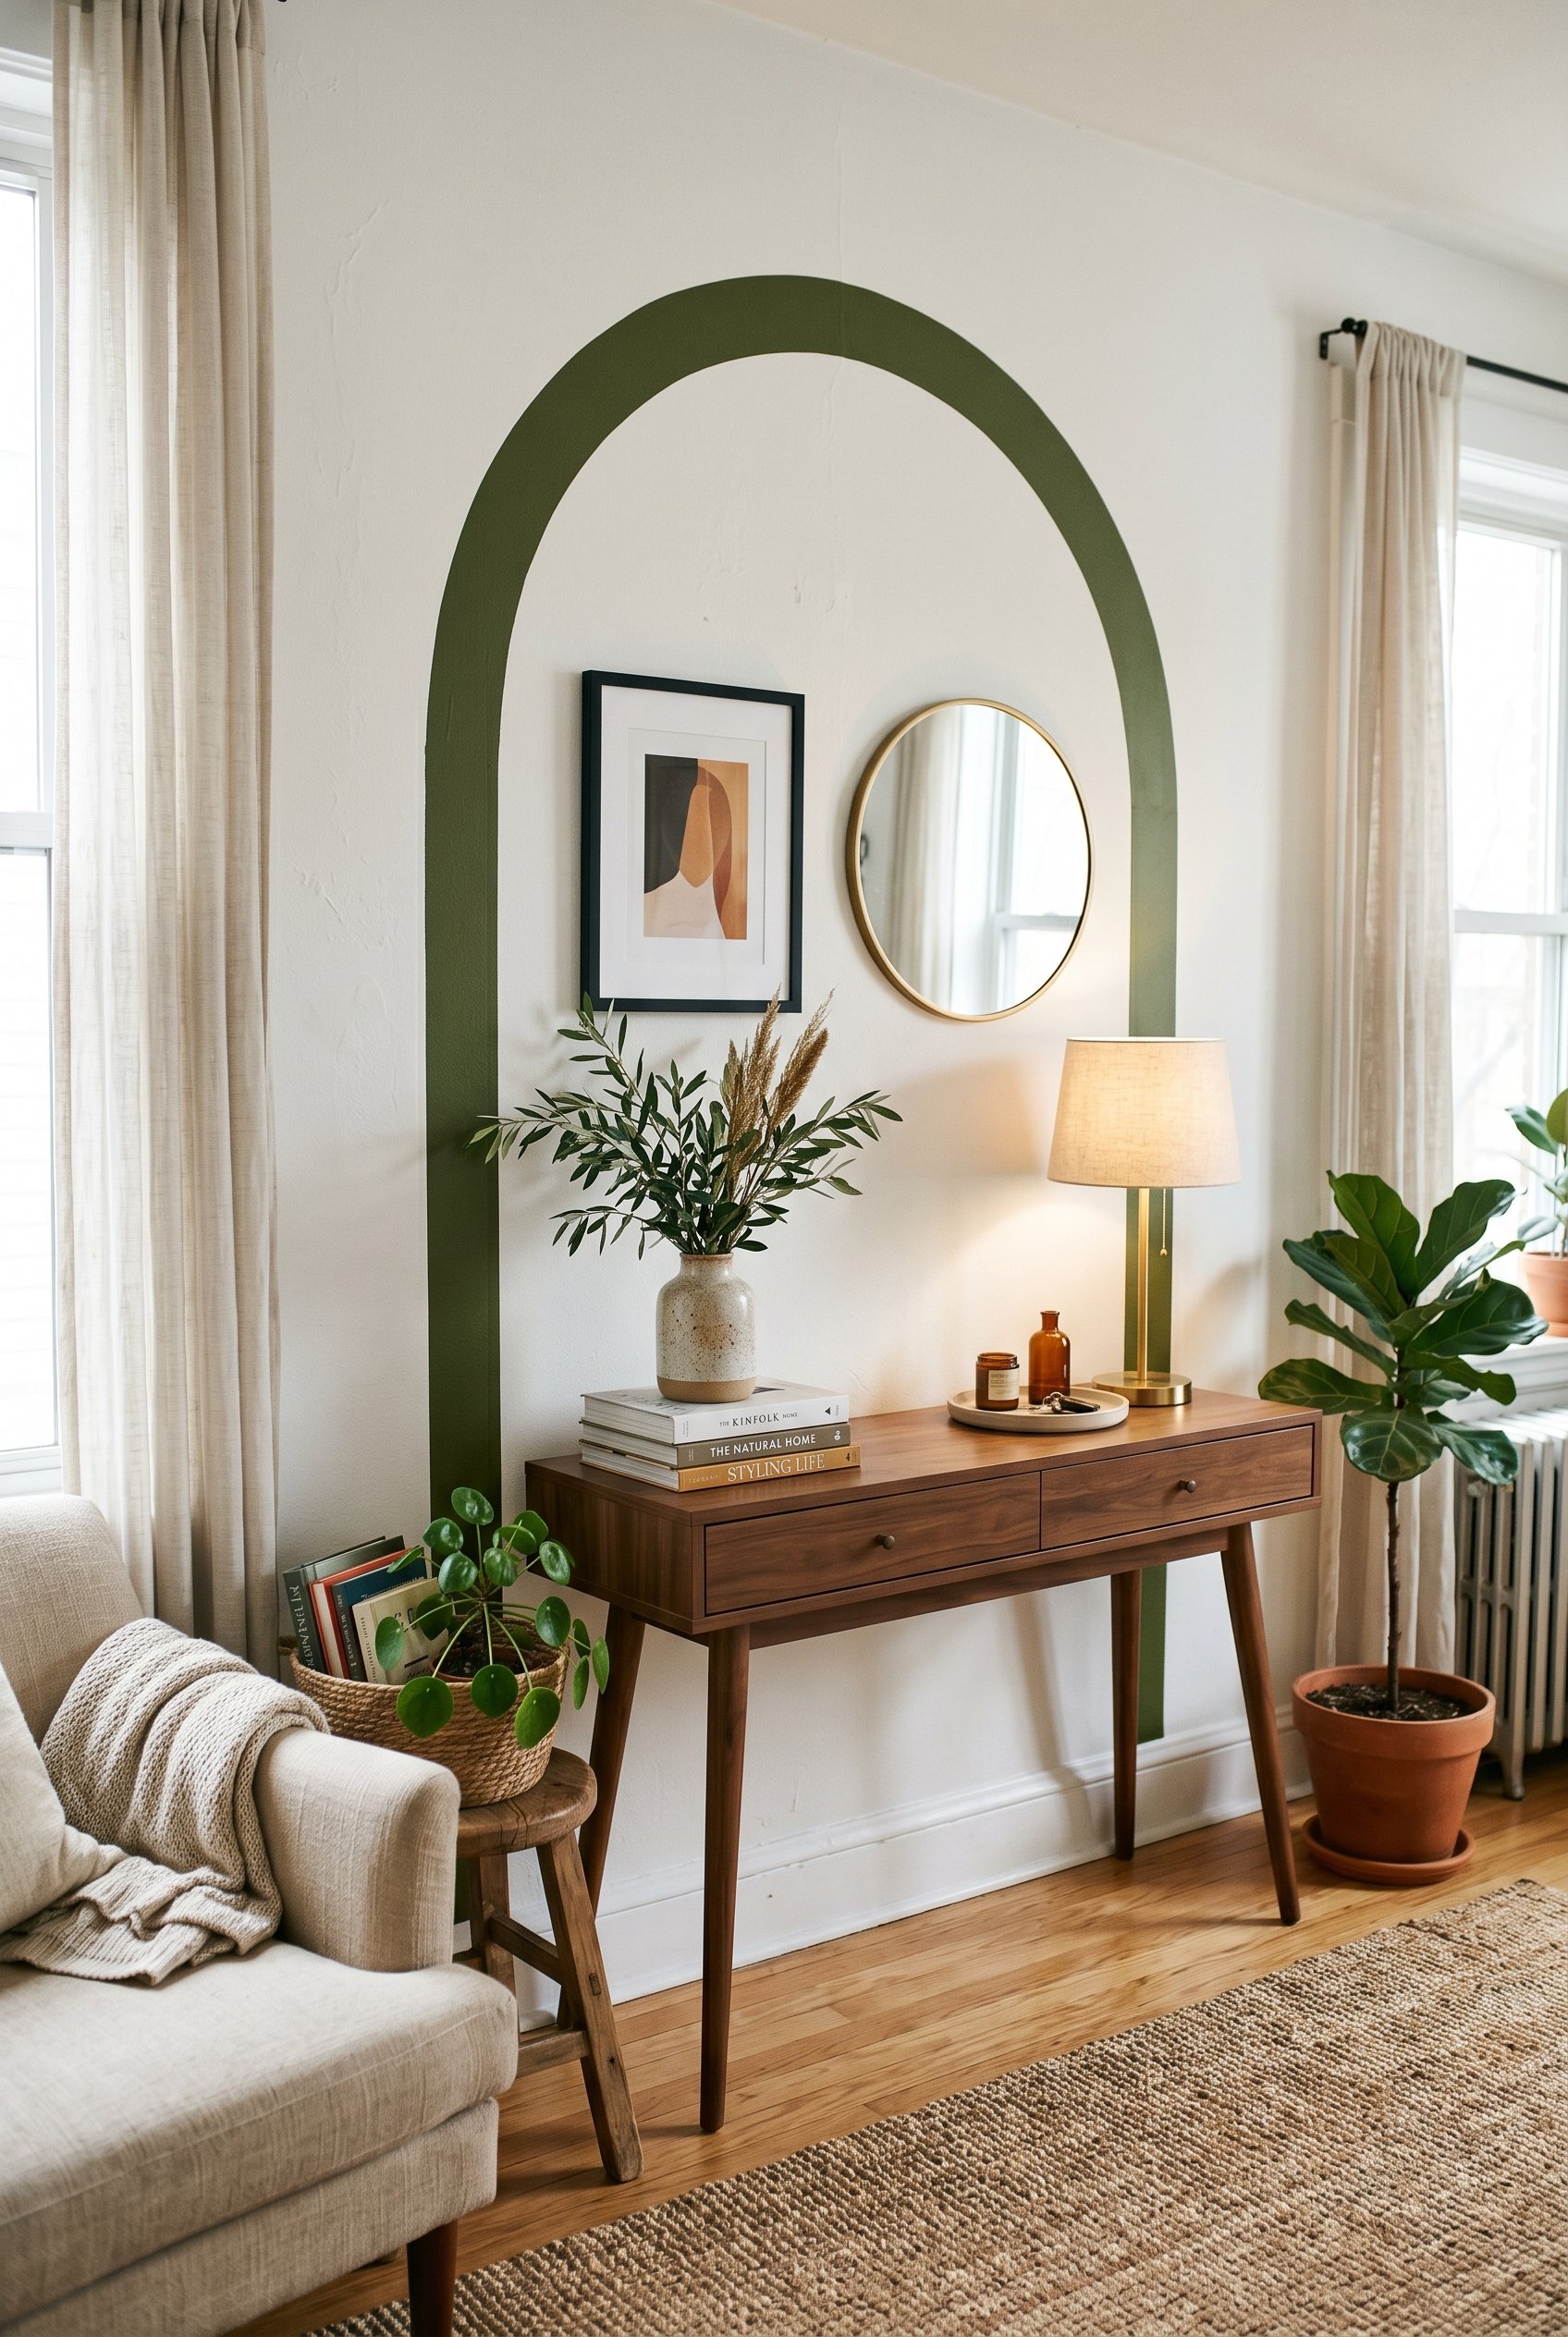
Budget: $10 | Time: 30 mins This one sounds juvenile until you see it done right. Instead of spending hours taping and painting a solid color arch, use high-quality, matte Japanese Washi tape to outline an architectural arch behind a bookshelf or a mirror. It is 100% damage-free, takes zero drying time, and peels right off when your lease is up. Stick to deep, sophisticated colors like charcoal, olive, or rust so it reads as graphic design rather than a dorm room craft.
6. Hollow Book Tech Concealer
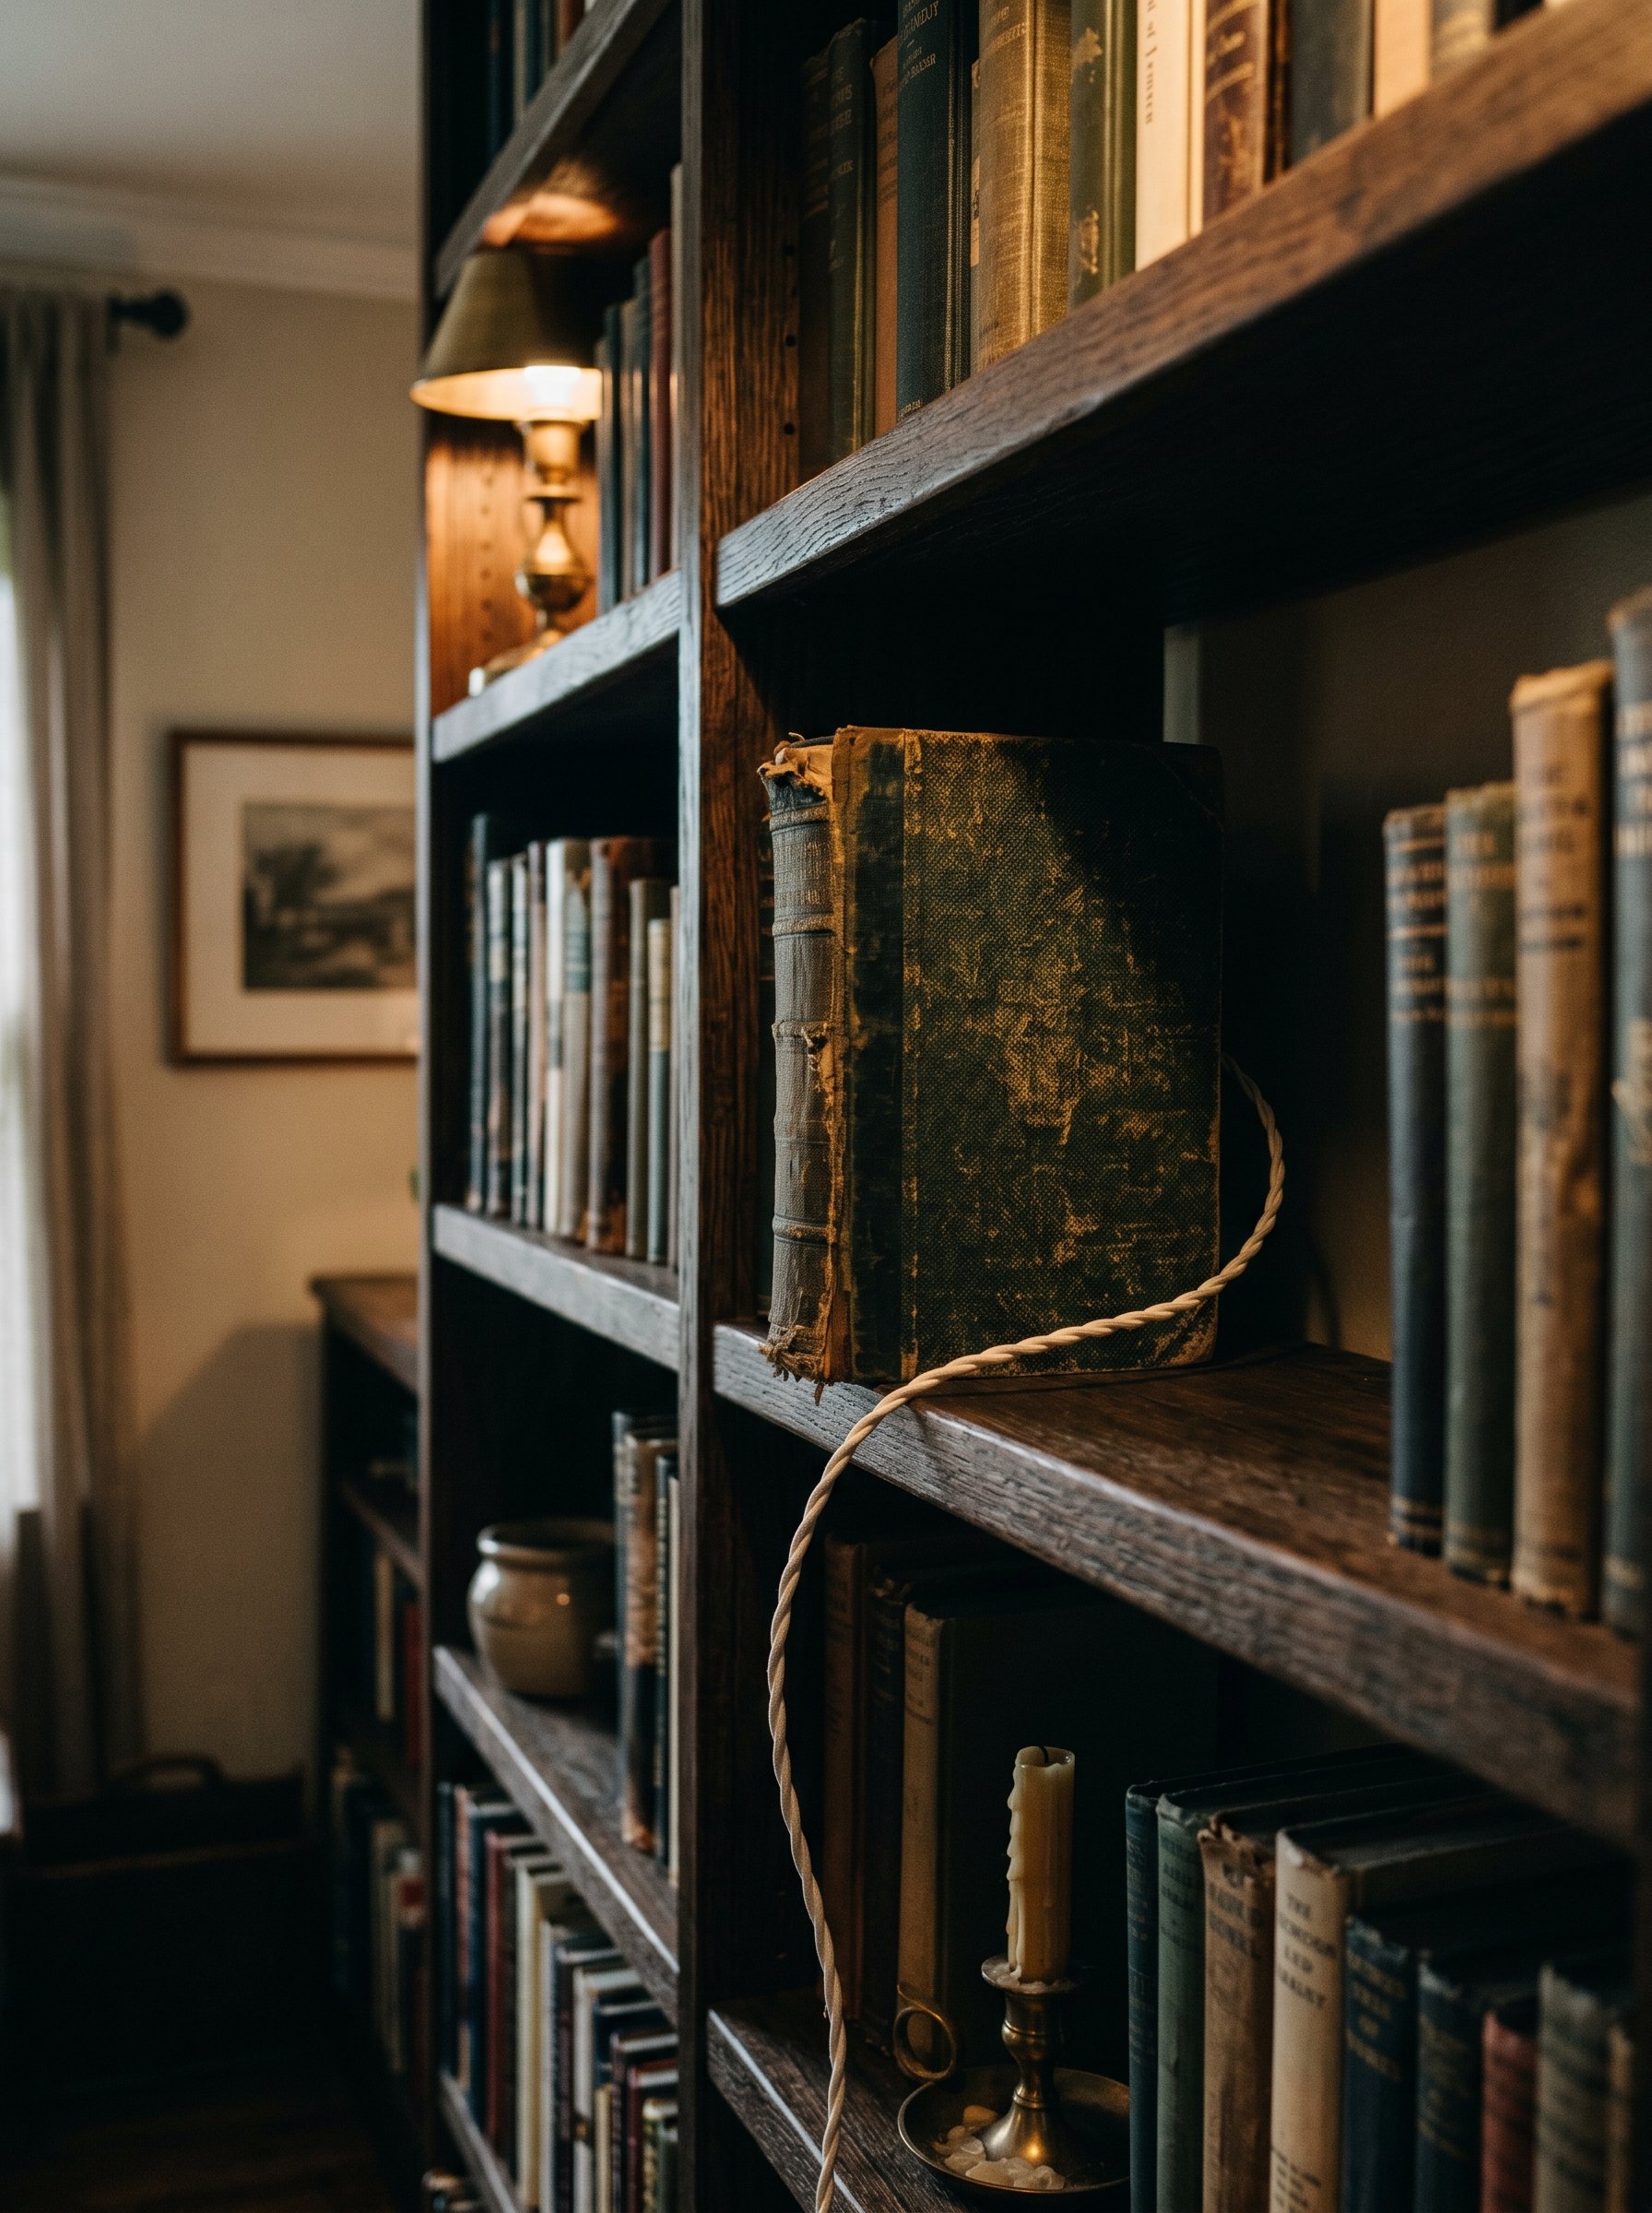
Budget: $8 | Time: 1 hour Smart home hubs and messy tech cords ruin the vibe of a styled credenza. Grab a thick, vintage hardcover book from a thrift store. Power Tool Primer: Use a drill with a large paddle bit or an oscillating multi-tool to carve out the interior pages, leaving the cover and spine intact. Cut a small notch in the back spine for the cord to exit. Slide your smart lighting bridge or Wi-Fi router inside. You just hid your ugly tech in plain sight.
7. Staple Gun Upholstered Vintage Stool
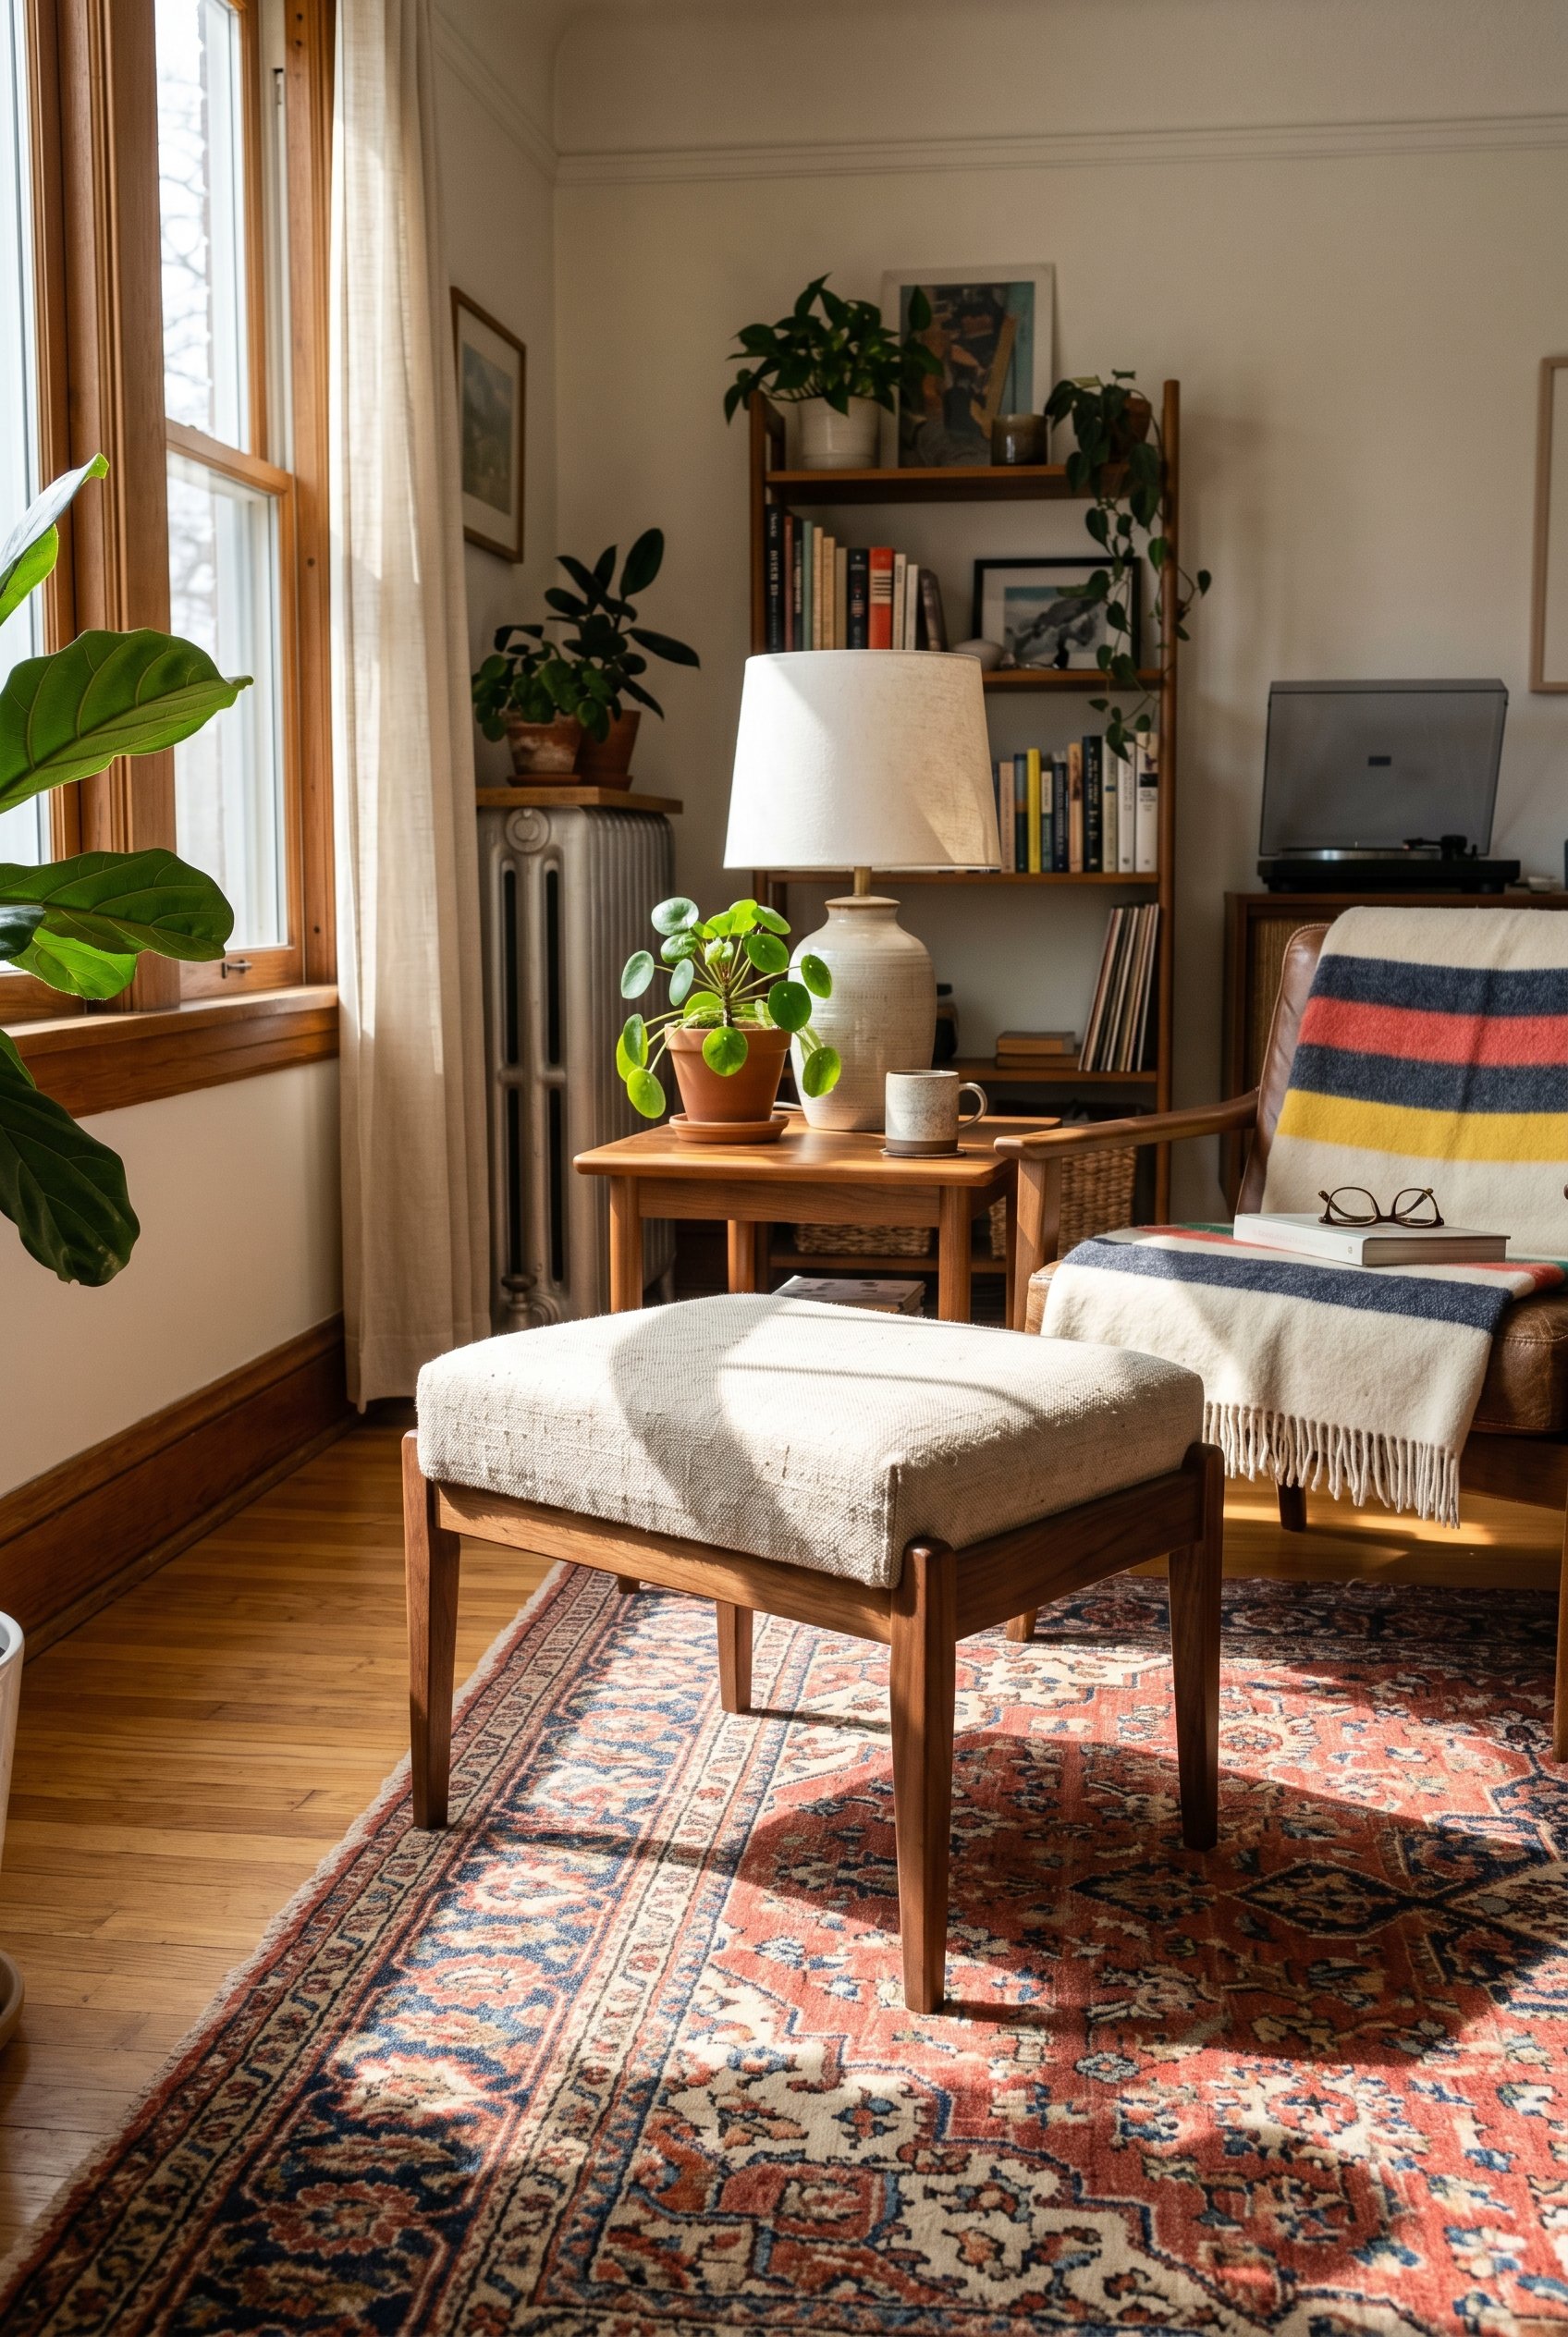
Budget: $40 | Time: 2 hours Reupholstering terrifies people, but a basic footstool or dining chair seat is the perfect entry point. Find a structurally sound stool with horrible fabric. Tear it off and replace it with organic, OEKO-TEX certified linen or heavy-weight deadstock canvas. Pull the fabric insanely tight—tighter than you think—and staple it to the underside using a heavy-duty manual staple gun. Fold the corners like a wrapped present.
8. Floating Pine Shelves
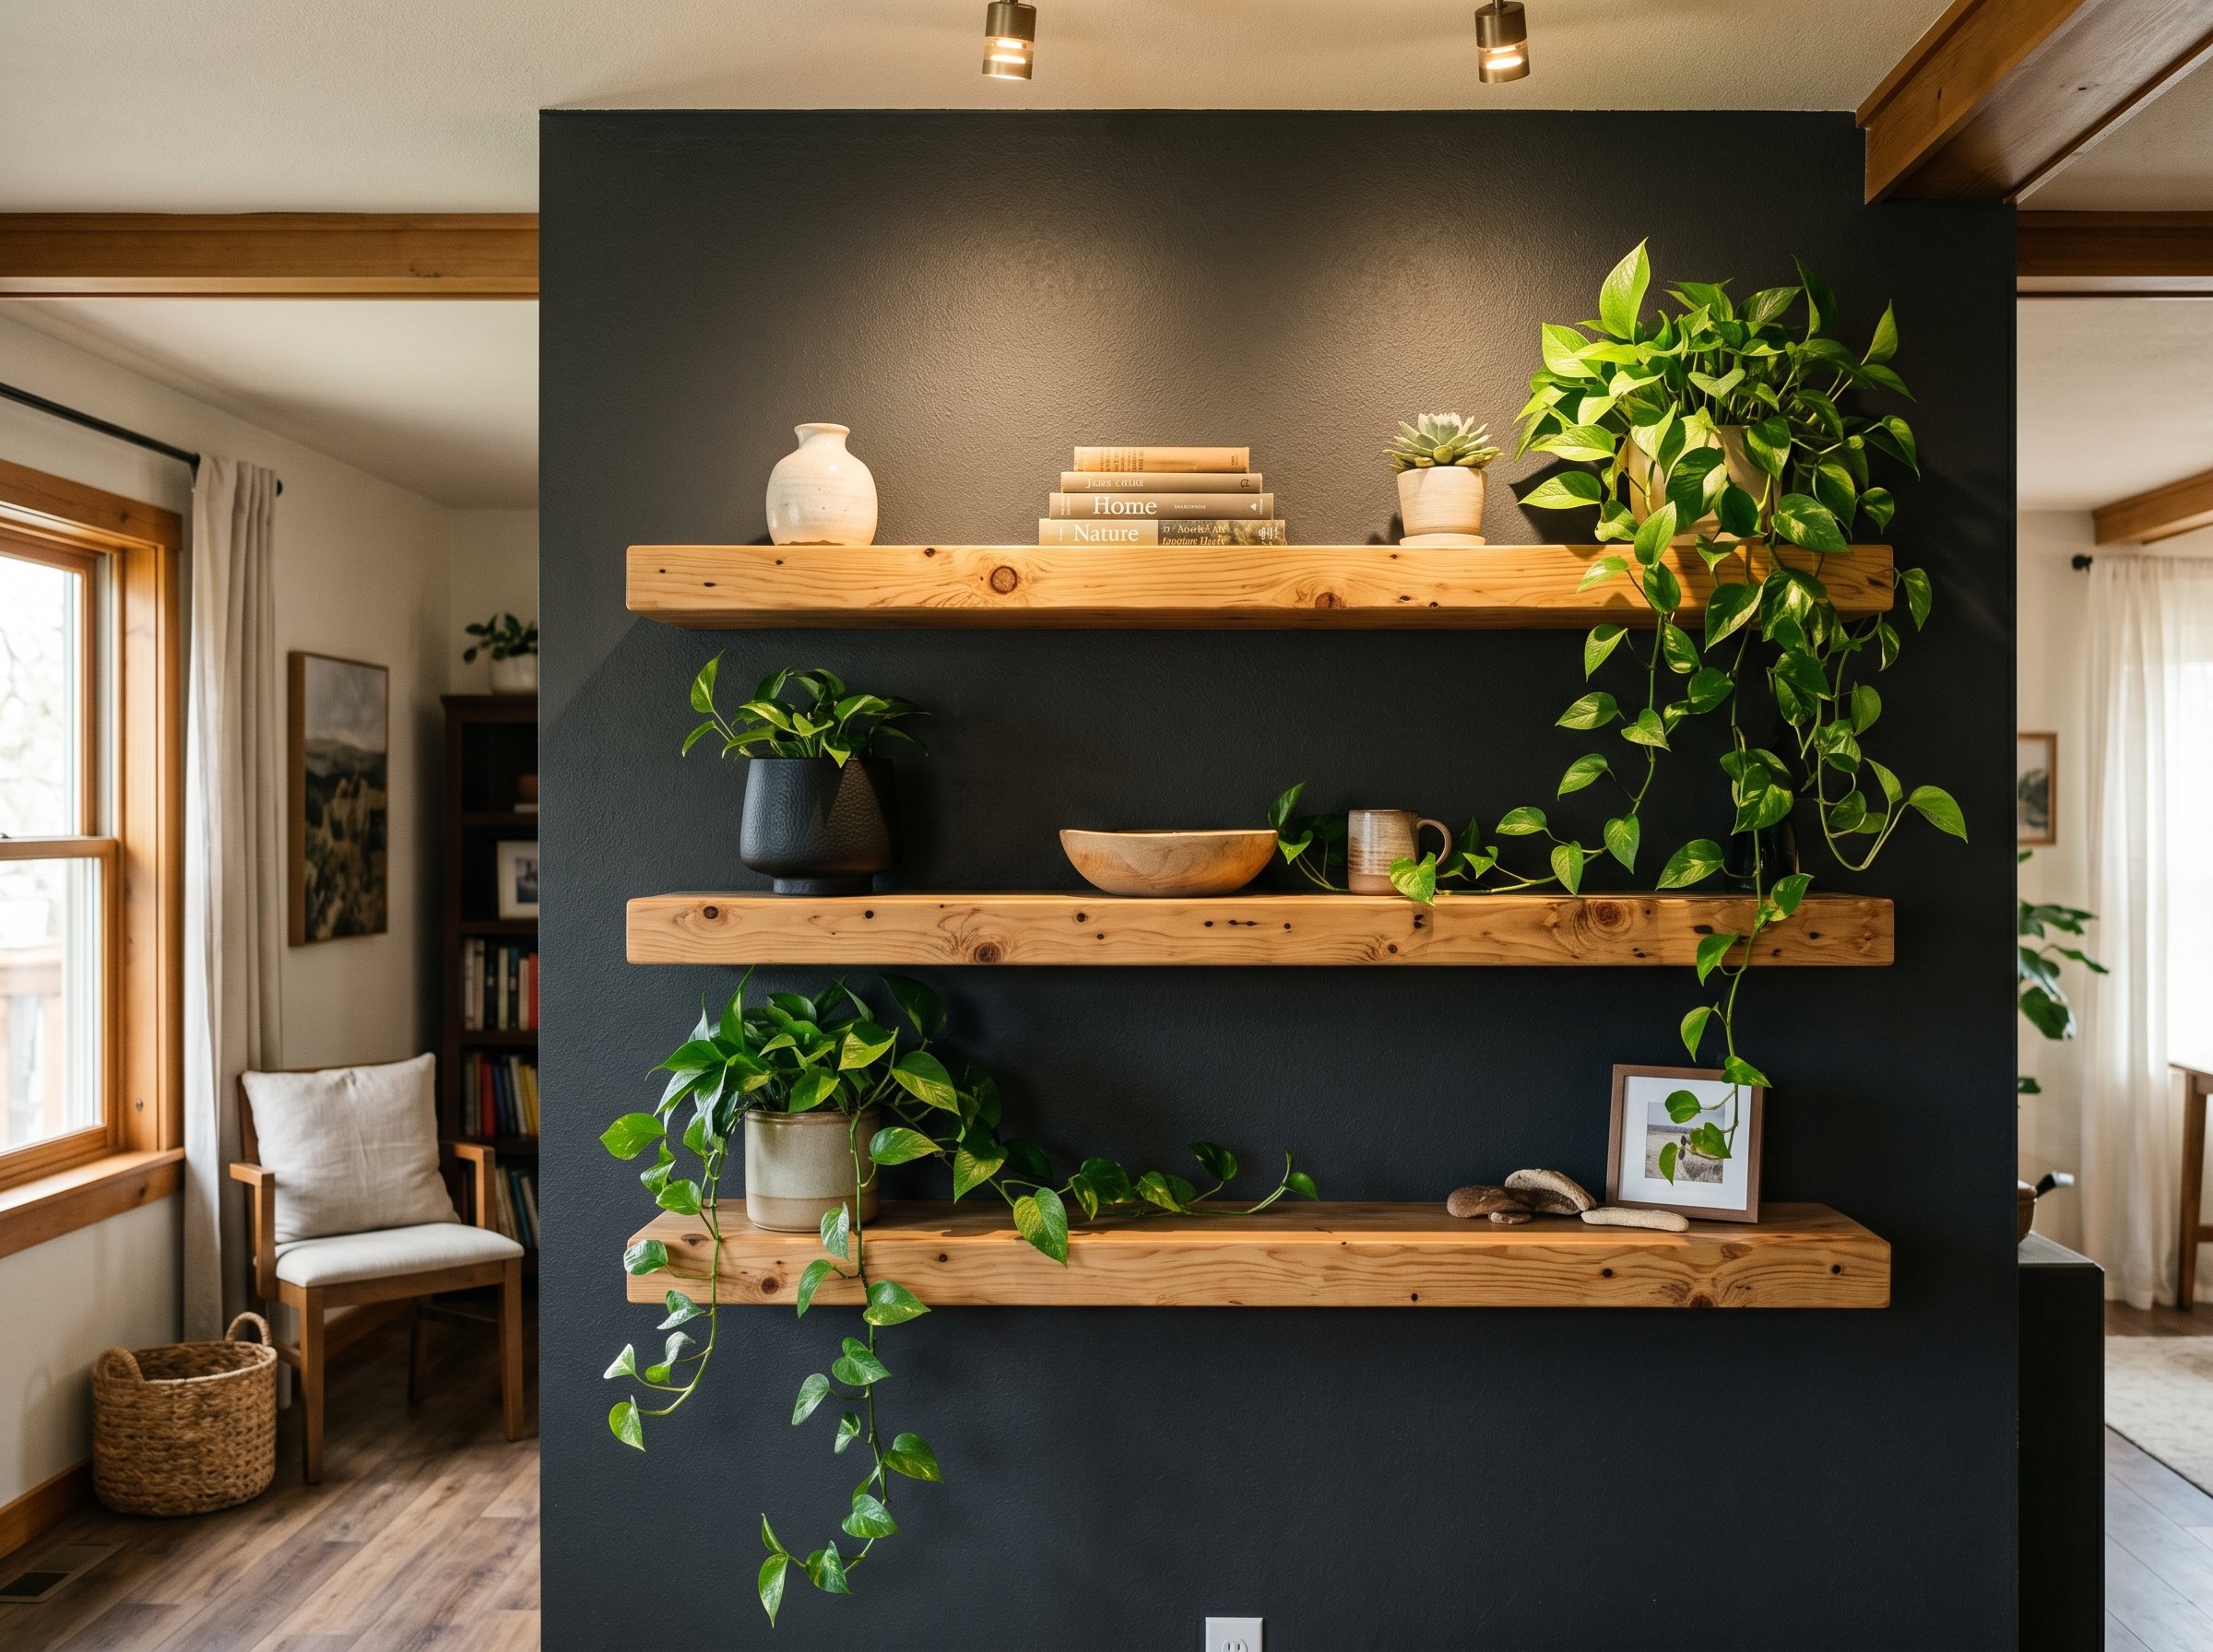
Budget: $50 | Time: 3 hours Skip the hollow MDF shelves from big-box stores. Buy solid pine boards, sand them smooth, and seal them with a plant-based, non-toxic wood wax. Power Tool Primer: To mount them, you need a power drill and a stud finder. Finding a stud is non-negotiable for heavy shelves. Hold the drill perfectly level, use the right drill bit for your specific wall anchors if you miss a stud, and drive your bracket screws in slowly so you don't strip the heads.
9. Camouflaged Smart Home Switches
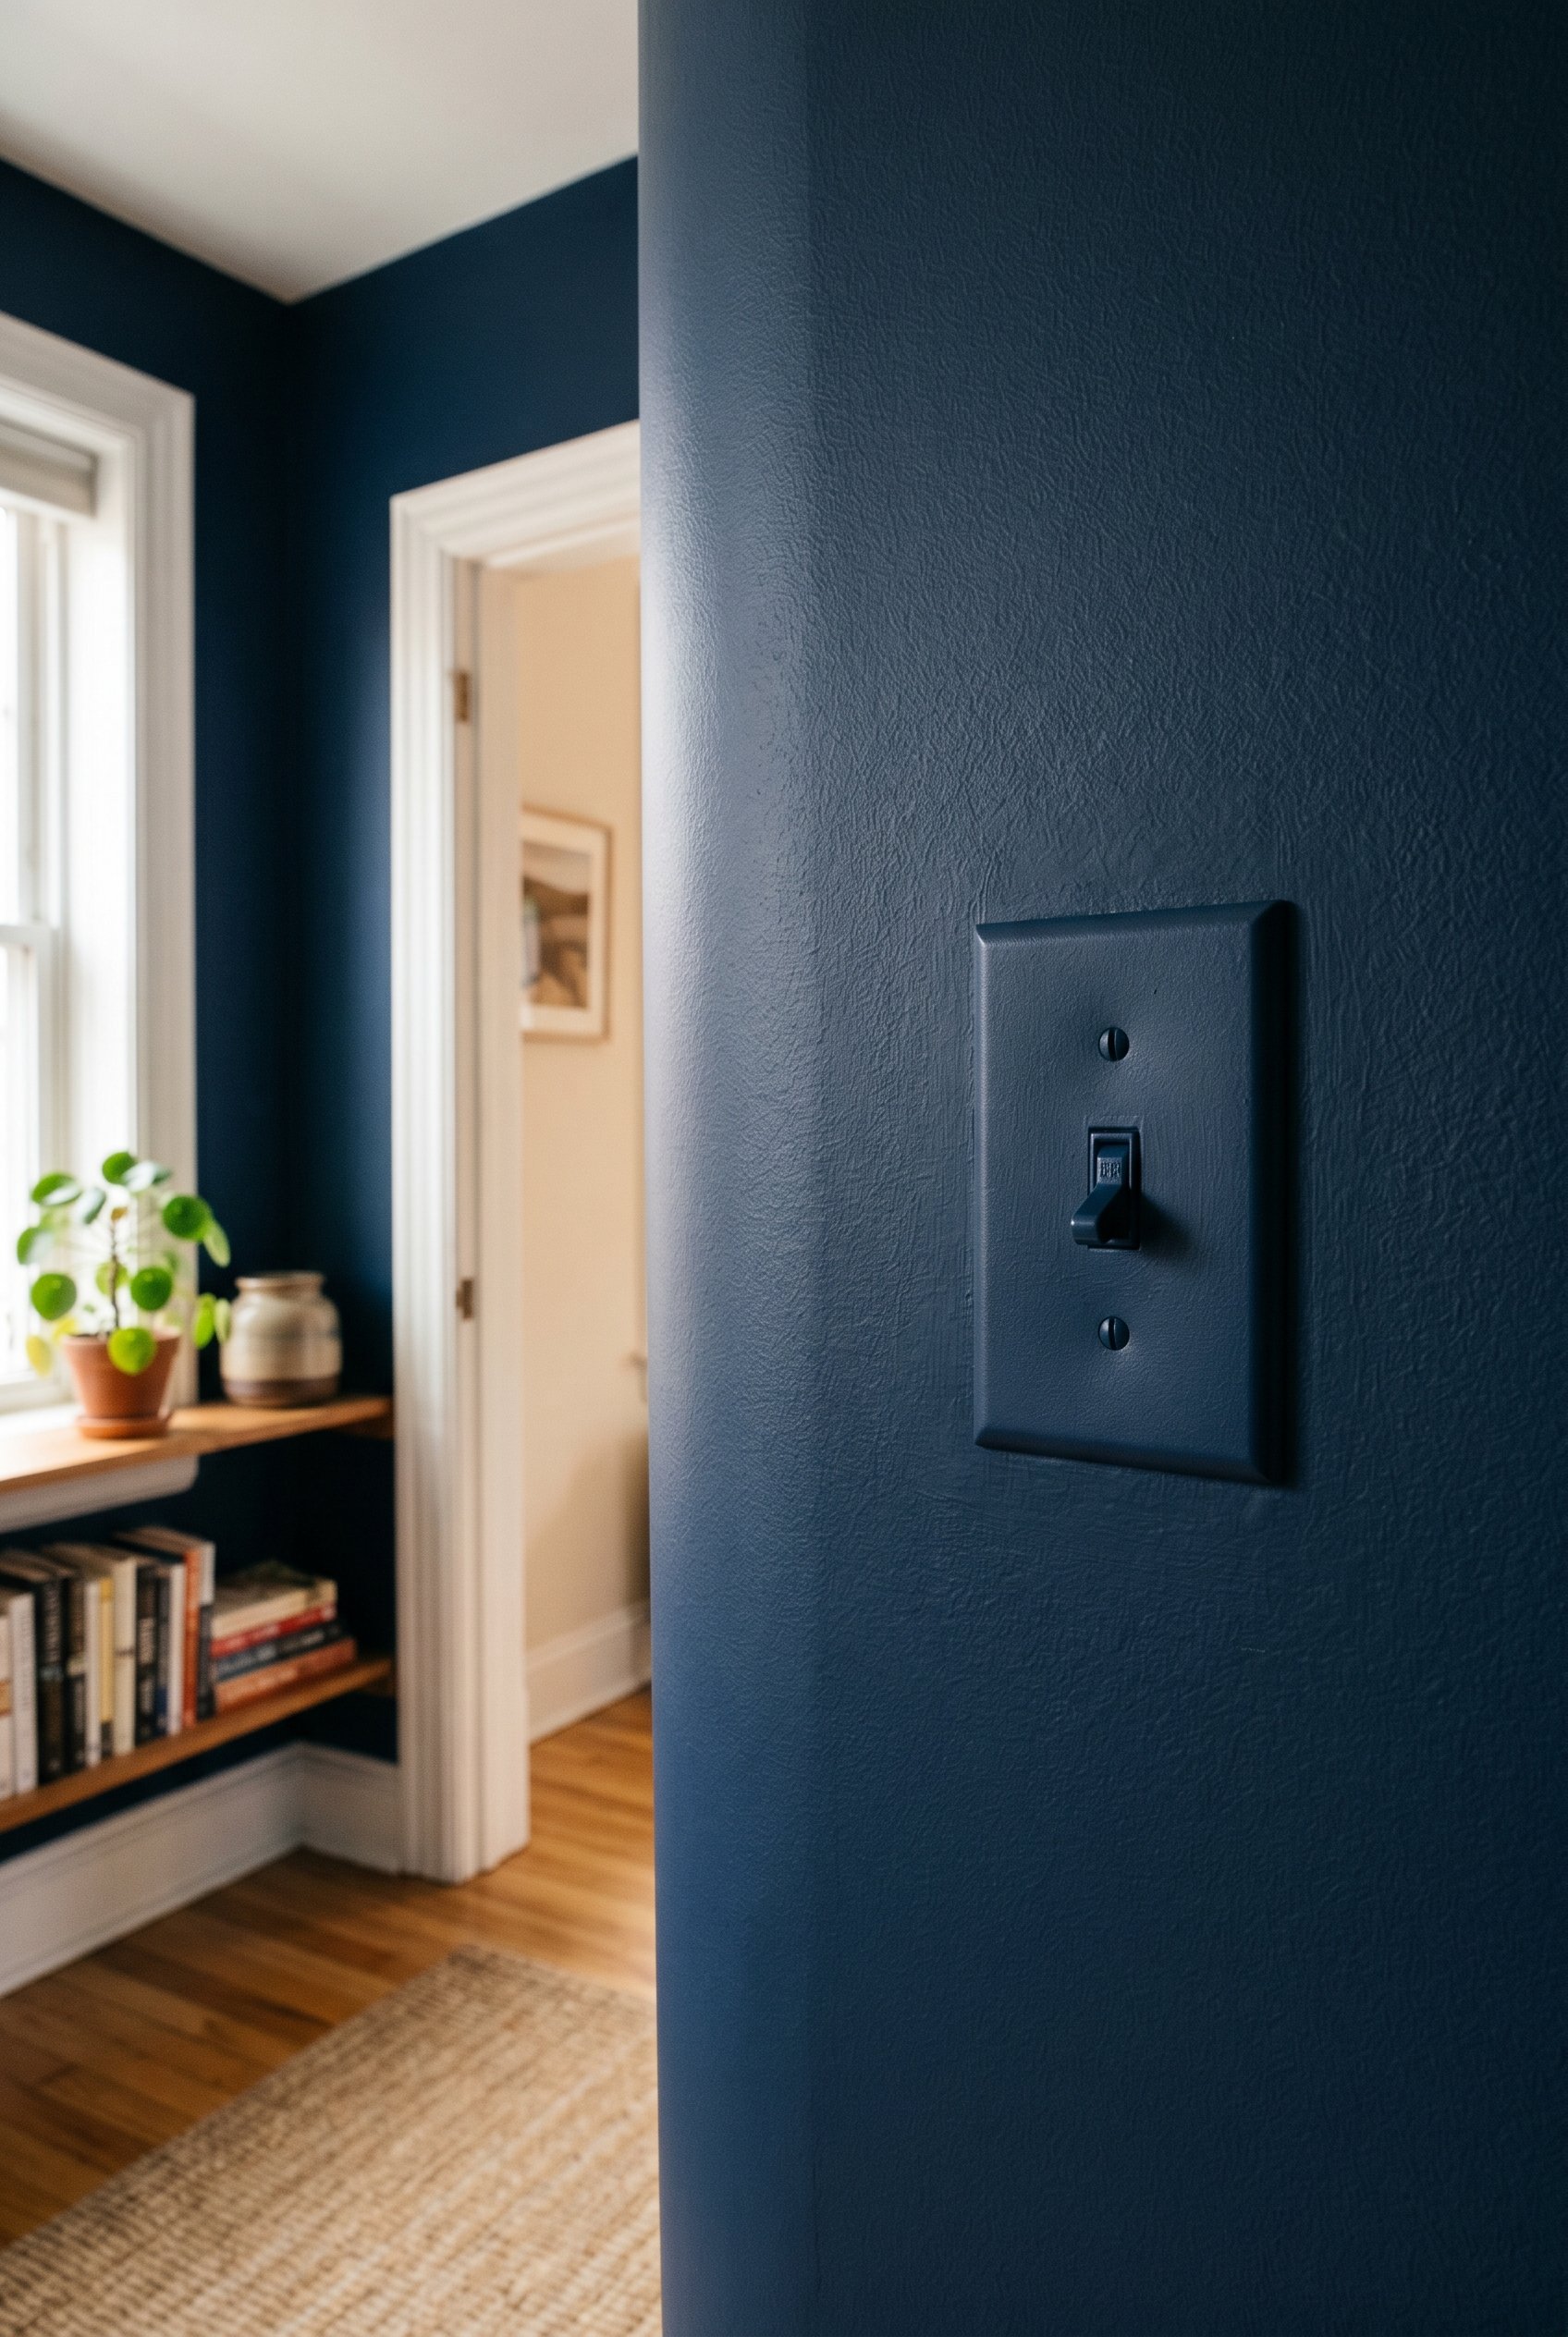
Budget: $12 | Time: 1 hour Those bright white smart dimmers stick out horribly against moody, dark-painted walls. Take off the plastic faceplates and lightly scuff them with high-grit sandpaper. Spray them with a non-toxic plastic primer, then paint them the exact same color as your walls. This makes the tech visually disappear. Obviously, do not paint the actual electronic toggle or dimmer slider—just the plate.
10. Terrazzo Contact Paper Console
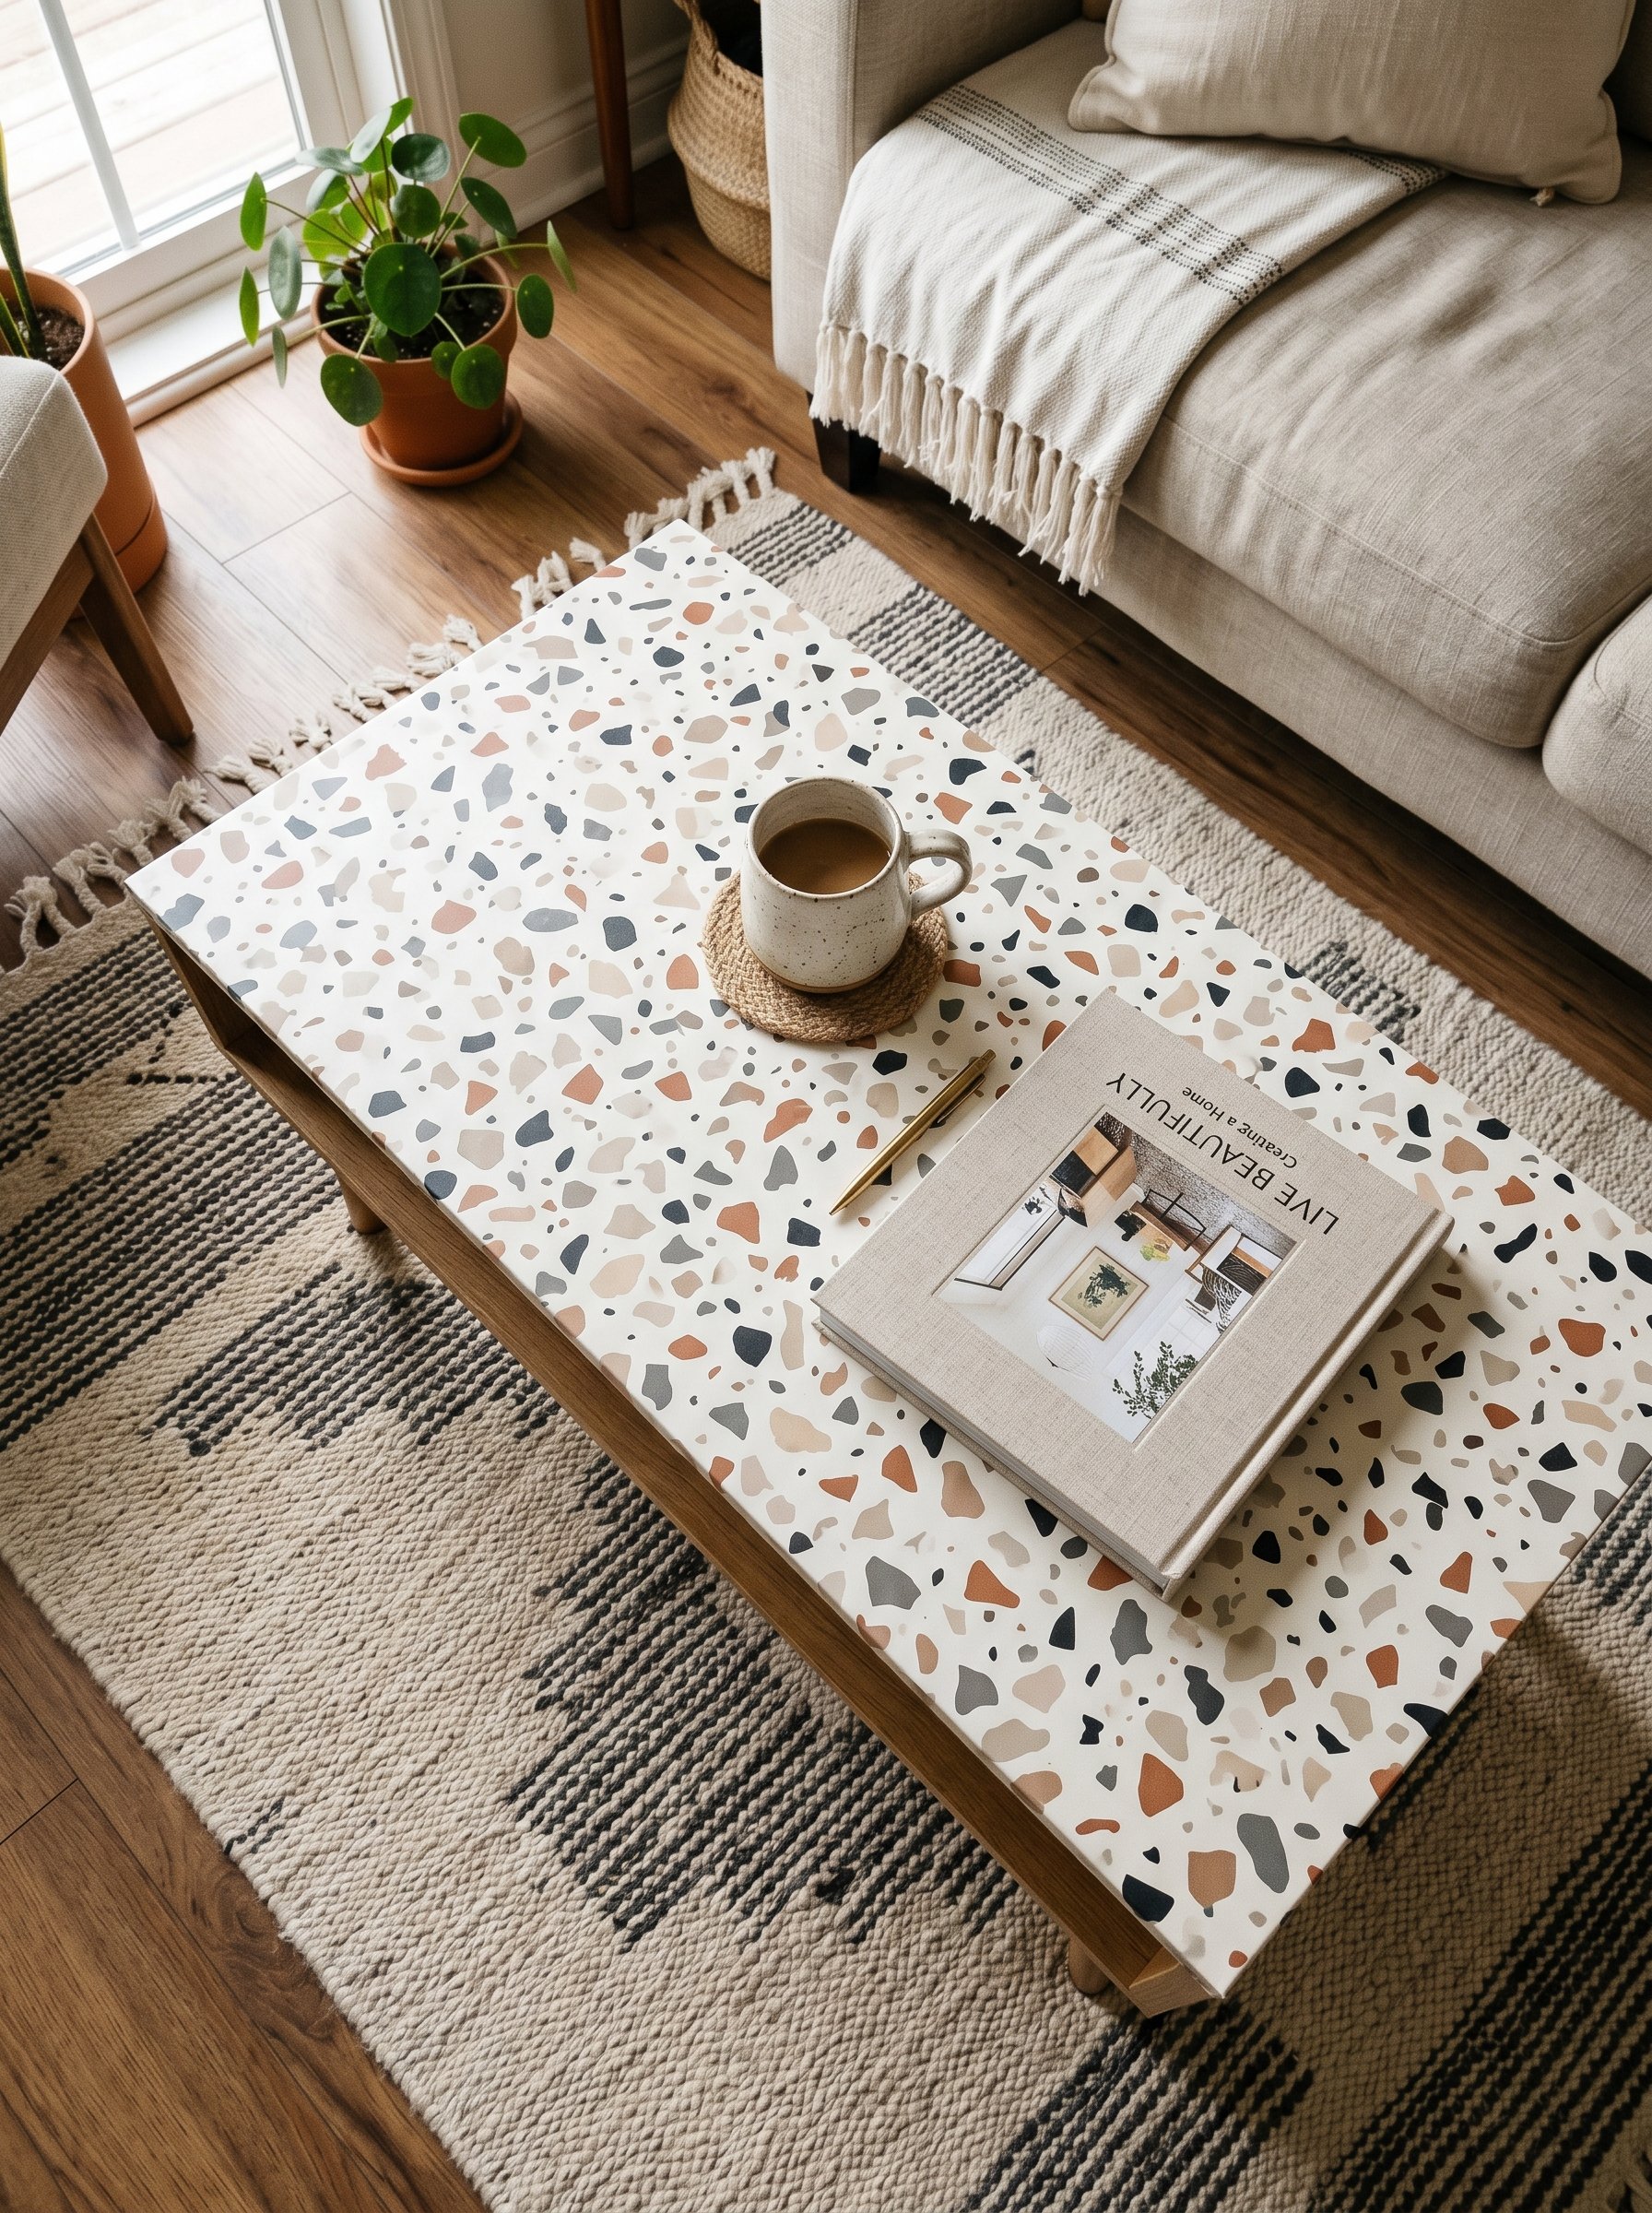
Budget: $30 | Time: 1.5 hours Peel-and-stick vinyl has come a long way. If you have a heavily scratched coffee table or an ugly metal console, wrap the top in a high-quality matte terrazzo or marble contact paper. The secret to avoiding bubbles is moving painfully slow, using a felt-edge squeegee to smooth the paper millimeter by millimeter, and using a hairdryer on low heat to stretch the vinyl seamlessly over the corners.
11. Papier-Mâché Organic Bowls
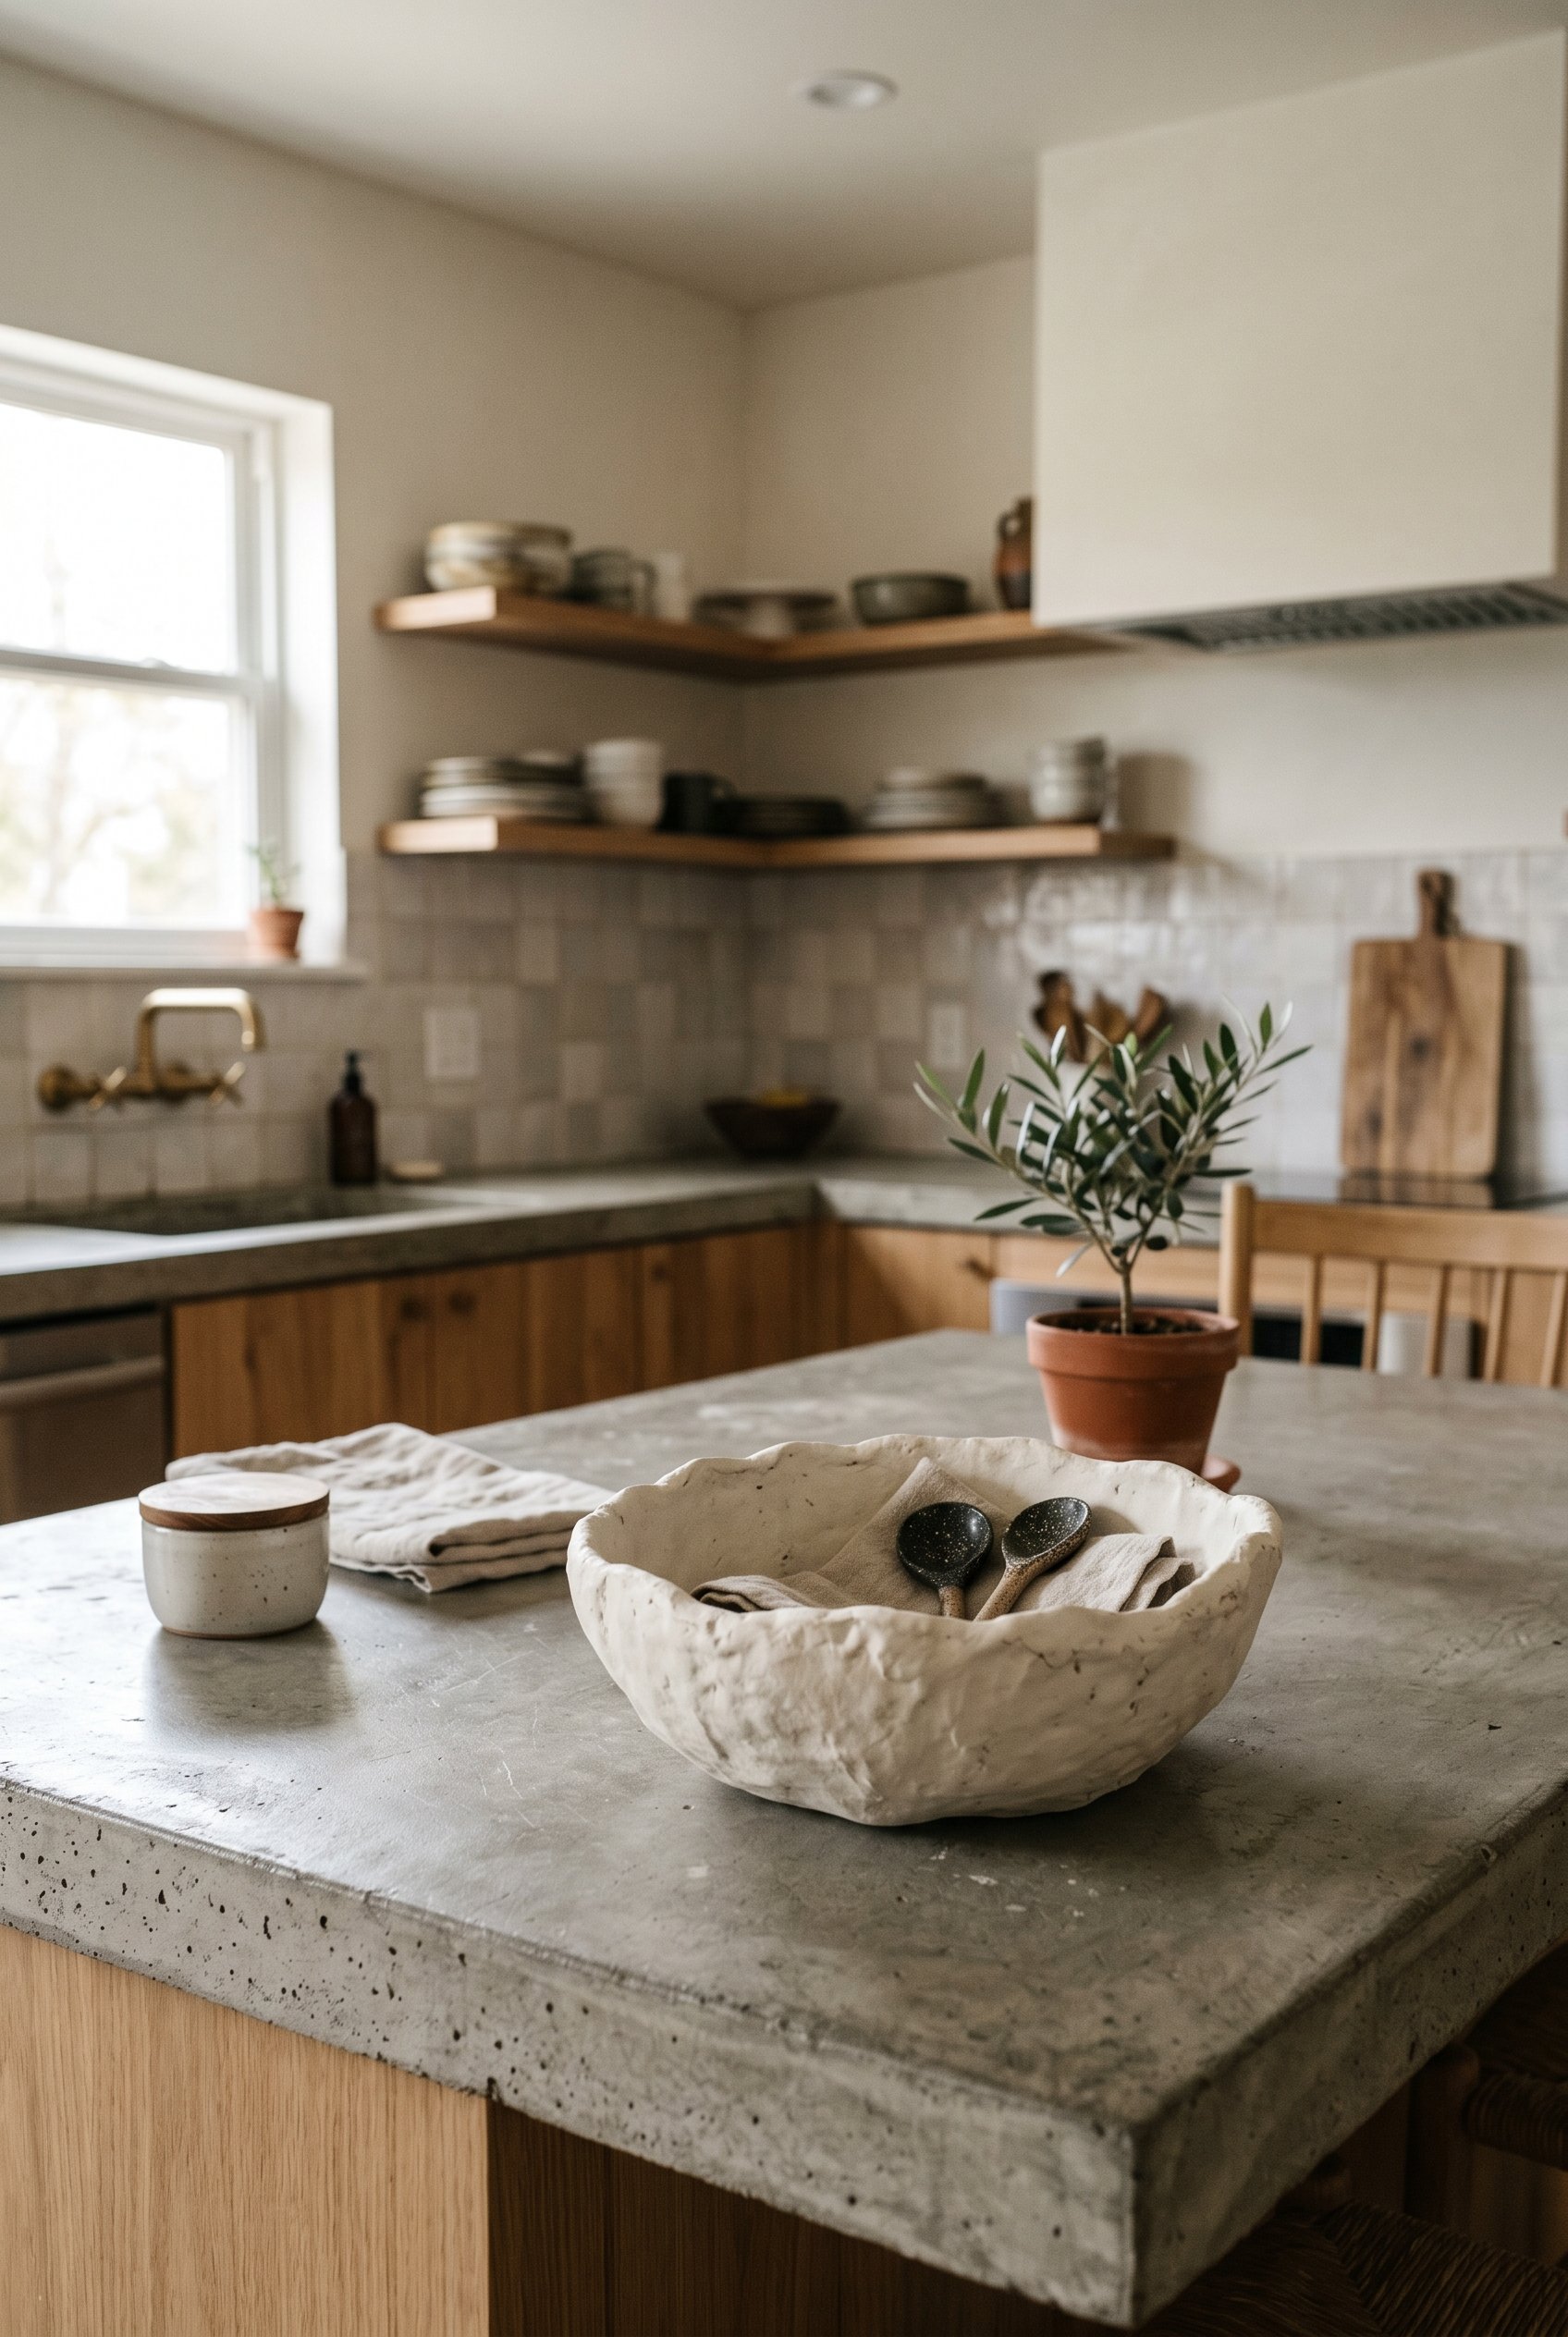
Budget: $5 | Time: 3 days (mostly drying) Papier-mâché is having a massive moment in high-end design. Shred recycled newspaper or craft paper and blend it with boiling water and non-toxic wheat paste. Mold the pulp over an existing glass bowl wrapped in cling film to create an intentionally lumpy, wabi-sabi vessel. Once it dries hard as a rock, paint it with leftover wall paint. I use mine to hold dried moss or decorative wooden beads.
12. Woven Basket Router Hideaway
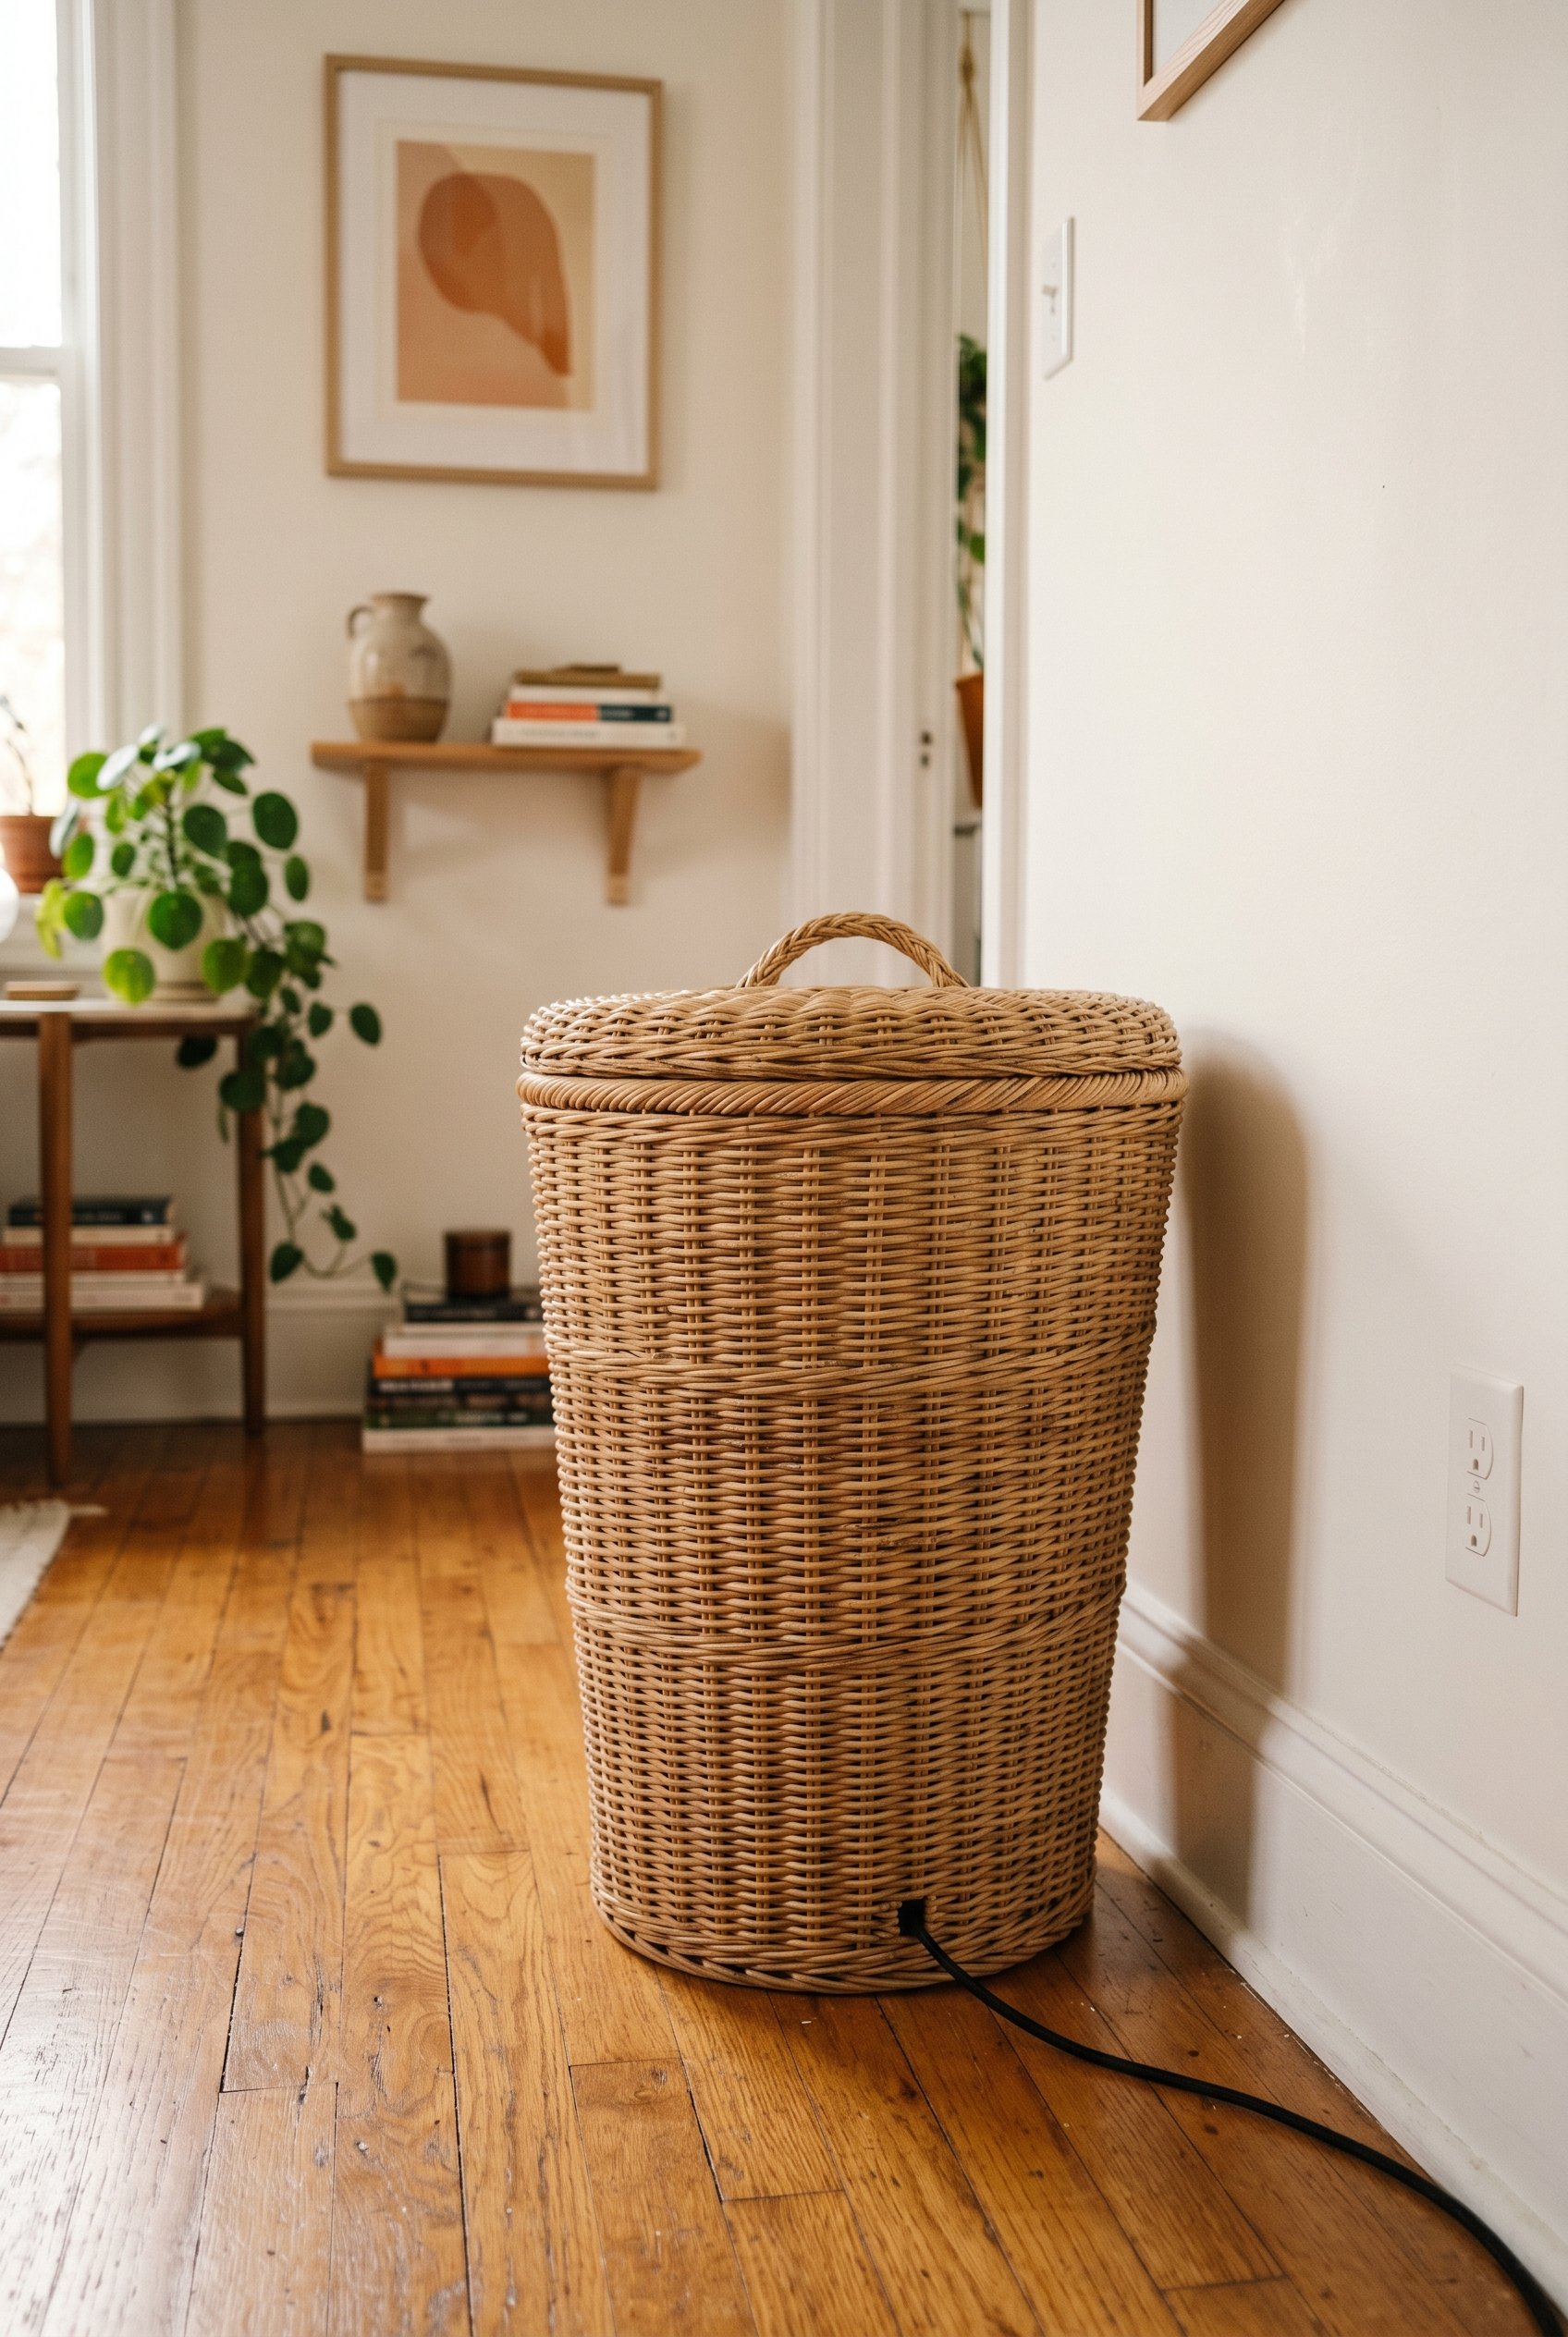
Budget: $20 | Time: 20 mins Another tech-hiding savior. Find a tall, sturdy woven basket with a lid. Use strong wire cutters or tin snips to cut a small, neat hole near the bottom back edge of the basket. Thread all your router cords, power strips, and ugly black cables through the hole. Your messy tech corner instantly becomes a textured, decorative floor piece.
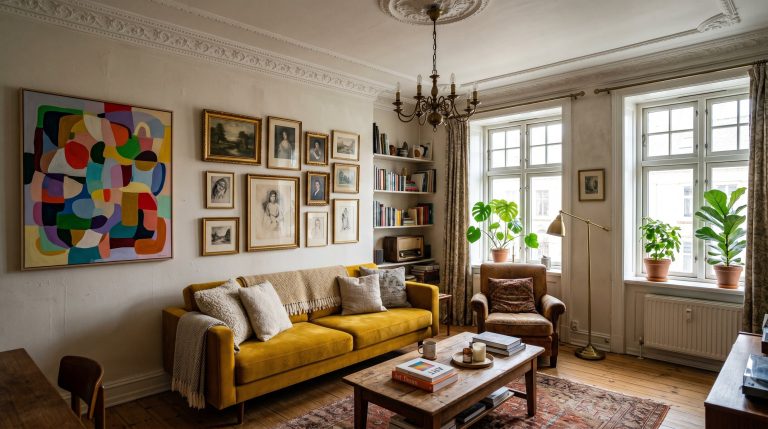
13. Pressed Botanical Gallery Wall
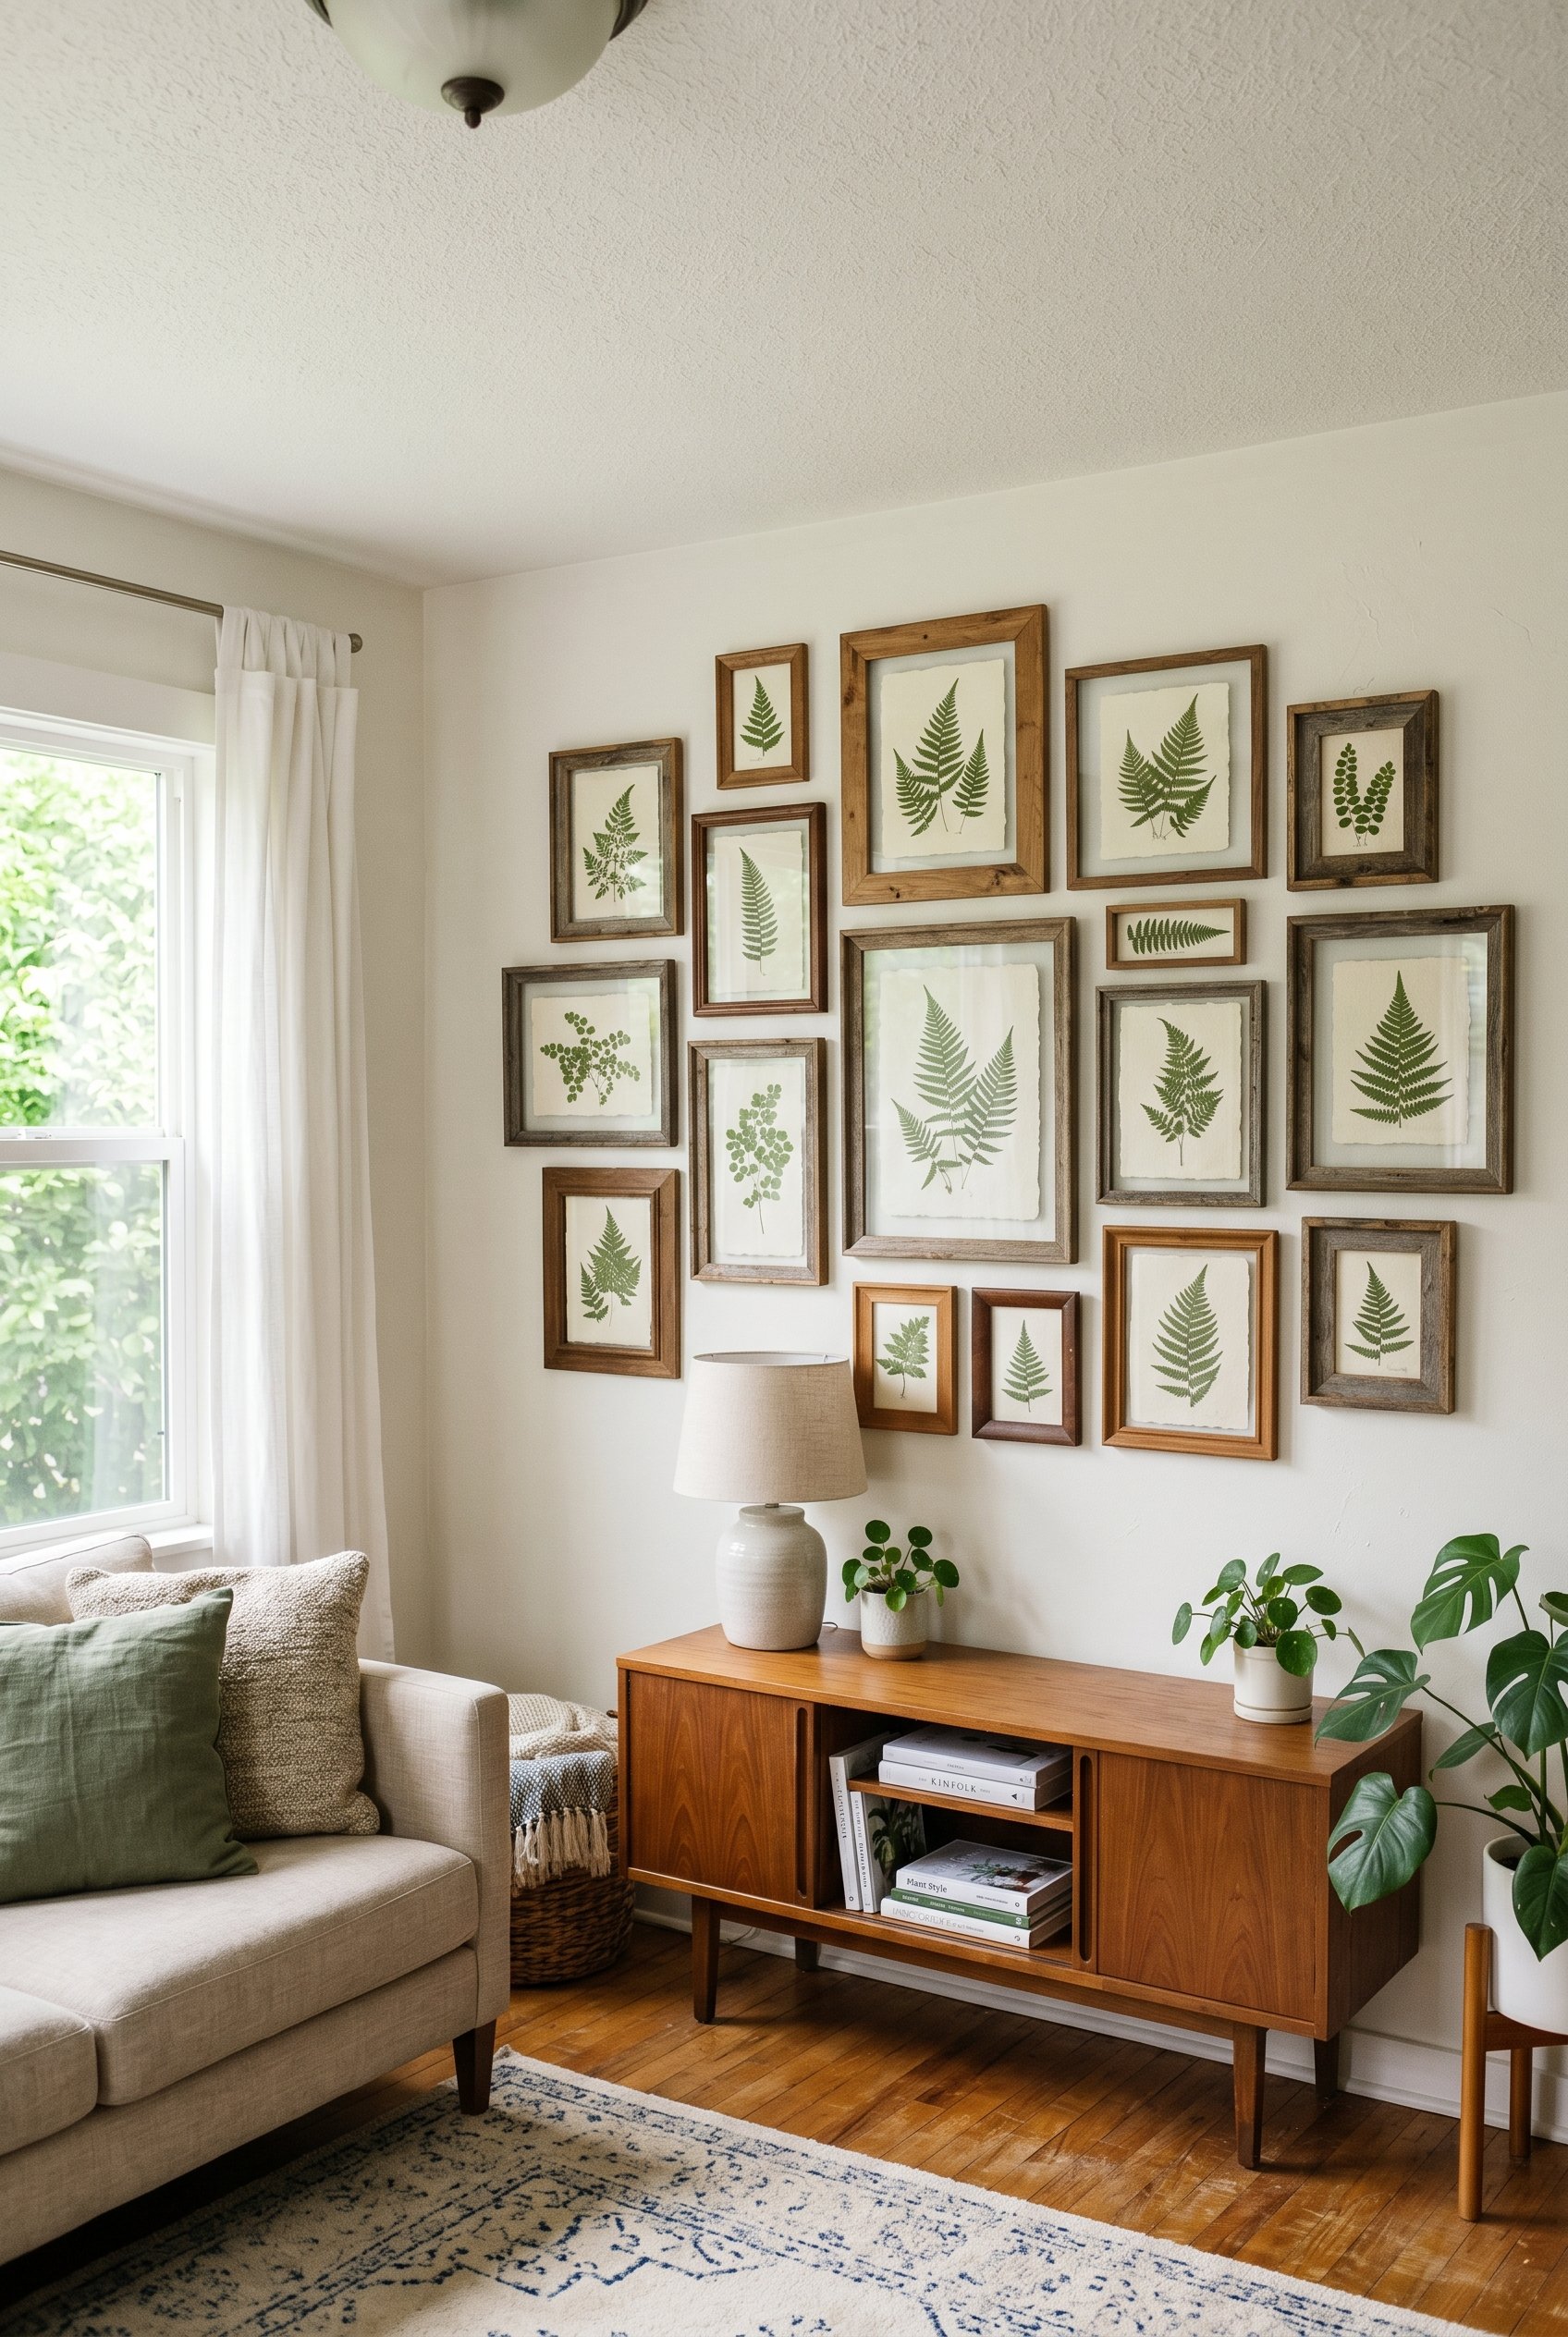
Budget: $25 | Time: 1 hour I highly recommend taking clippings of ferns or delicate weeds from your neighborhood. Press them inside heavy books for two weeks until bone dry. Thrift a collection of mismatched frames, discard the ugly art inside, and mount your pressed botanicals on thick, acid-free watercolor paper. It’s a completely sustainable way to build a massive gallery wall for the cost of a few cheap frames.
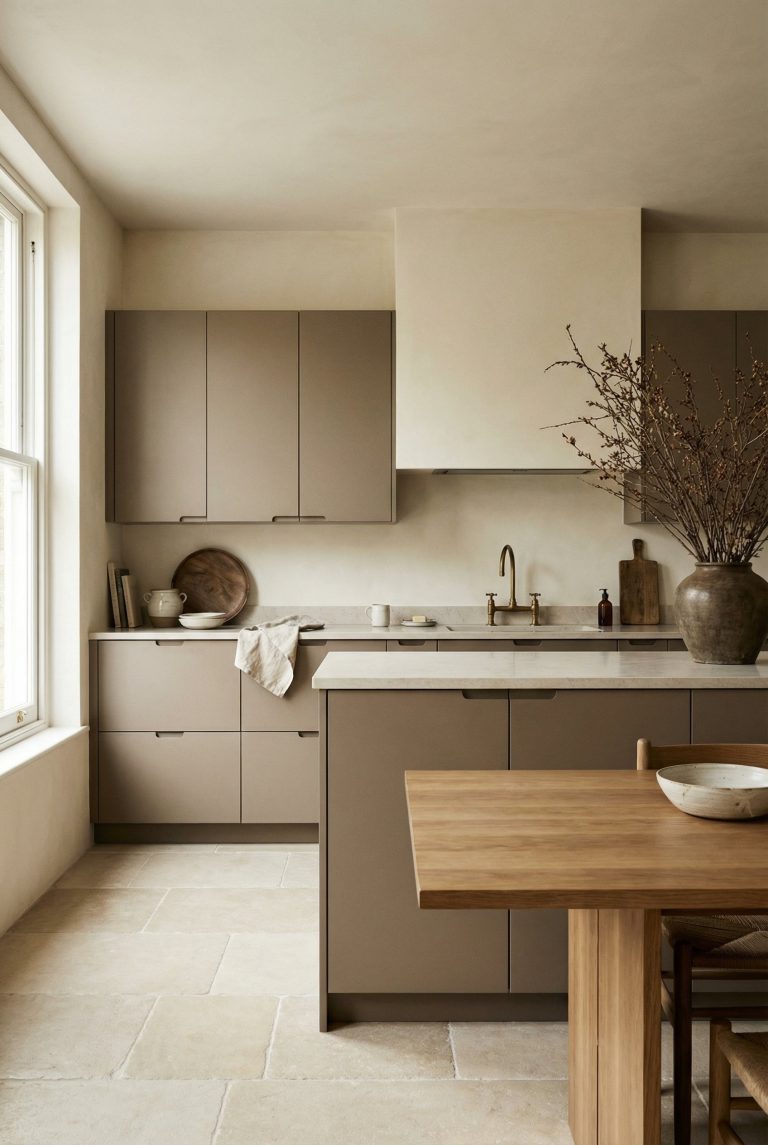
14. Limewashed MDF Backdrops
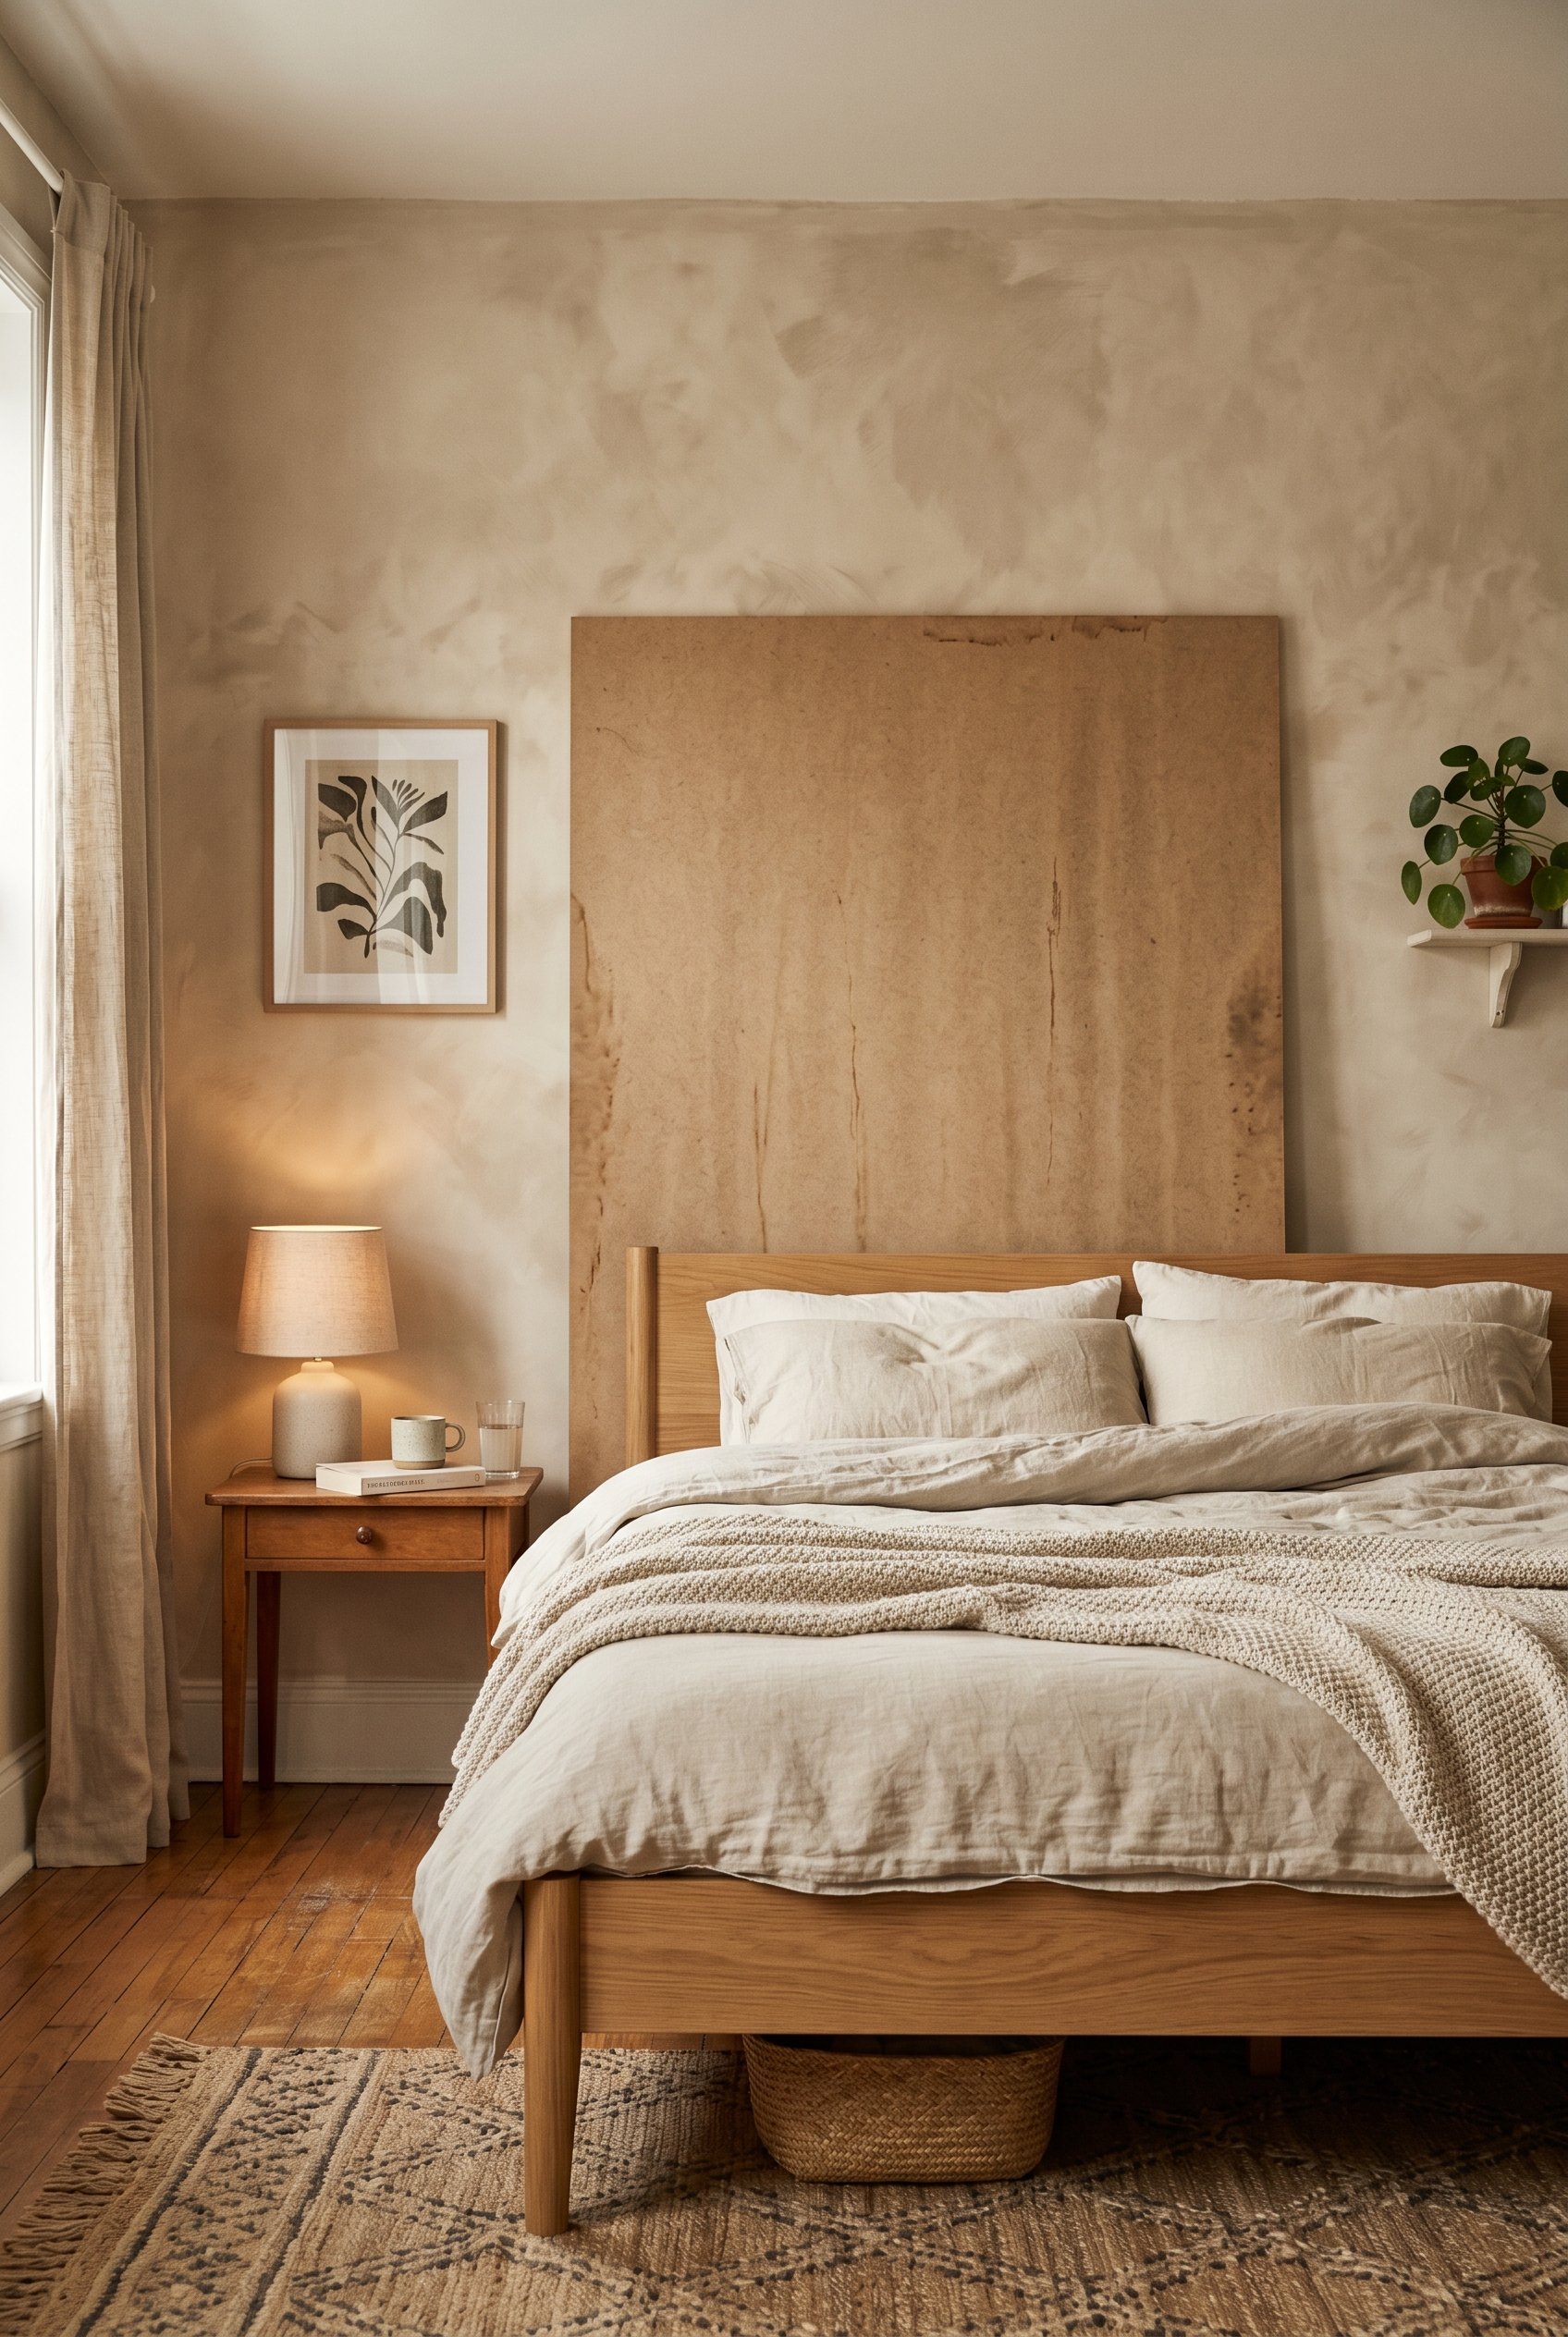
Budget: $45 | Time: 3 hours If you rent and can't paint your walls with real mineral limewash, make a backdrop. Buy a large, thin sheet of MDF from Home Depot and lean it against your wall behind a sofa or bed. Paint the MDF with actual zero-VOC limewash, brushing in large "X" motions to build that cloudy, suede-like texture. You get the high-end European plaster look, completely damage-free.
DIY decor shouldn't feel like a compromise; it should feel like custom design. That hollow book tech concealer is still my personal favorite because it solves a massive eyesore for almost zero money. Stop settling for flimsy crafts and start building pieces that actually hold their own in a room.
FAQ
What kind of paint is safe for indoor DIYs? Look for paints labeled zero-VOC (Volatile Organic Compounds) or low-VOC. Brands like Clare, AFM Safecoat, or standard mineral/milk paints are excellent non-toxic choices that won't off-gas harmful chemicals into your house.
How do I mount heavy DIY art without ruining apartment walls? Use Command Heavy Duty picture hanging strips for anything up to 16 lbs. For heavier items, use a monkey hook (or drywall claw) — it only leaves a pin-sized hole that you can easily fill with a tiny dab of toothpaste or spackle before moving out.
Are cheap power tools worth it for occasional crafts? Yes. You don't need a $200 professional drill for home decor projects. An entry-level $40-$50 12V cordless drill from Ryobi or Black+Decker is entirely sufficient for putting up shelves, building small frames, and hacking IKEA furniture.
How do I stop peel-and-stick paper from bubbling? You are peeling off too much backing at once. Only expose one inch of the sticky side at a time. Use a felt-tipped squeegee to push the air out from the center to the edges before exposing the next inch.
What's the best way to hide extension cords along baseboards? Use paintable D-line cable raceways. They are half-round plastic channels with an adhesive back that stick right above your baseboard. Snap the cords inside, and paint the plastic channel the exact same color as your wall or trim.